How to Convert .JPG To PES Embroidery File
If you want to Convert JPG To PES Embroidery File, you need to understand that a JPG is only a picture. A PES file is different. It is an embroidery file used by many Brother and Baby Lock embroidery machines. The machine cannot sew a normal image directly. It needs a stitch file that tells it how to move the needle and thread.
This guide explains the process in simple language. You will learn what a PES file is, why the image must be digitized, when online conversion is useful, and how to get better embroidery results.
Key Takeaways
- A JPG is a normal image file, not a machine embroidery file.
- A PES file is used by many home and commercial embroidery machines.
- You cannot get a clean PES file by only changing the file name.
- The image must be digitized into stitch instructions.
- Clear artwork, correct size, and fabric details help improve the final result.
What Does JPG to PES Conversion Mean?
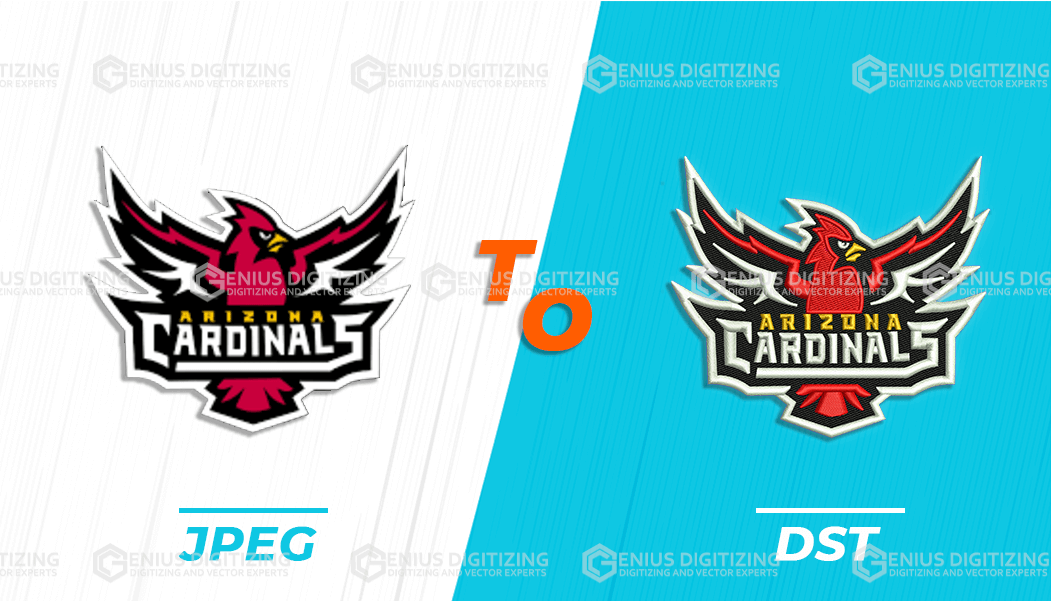
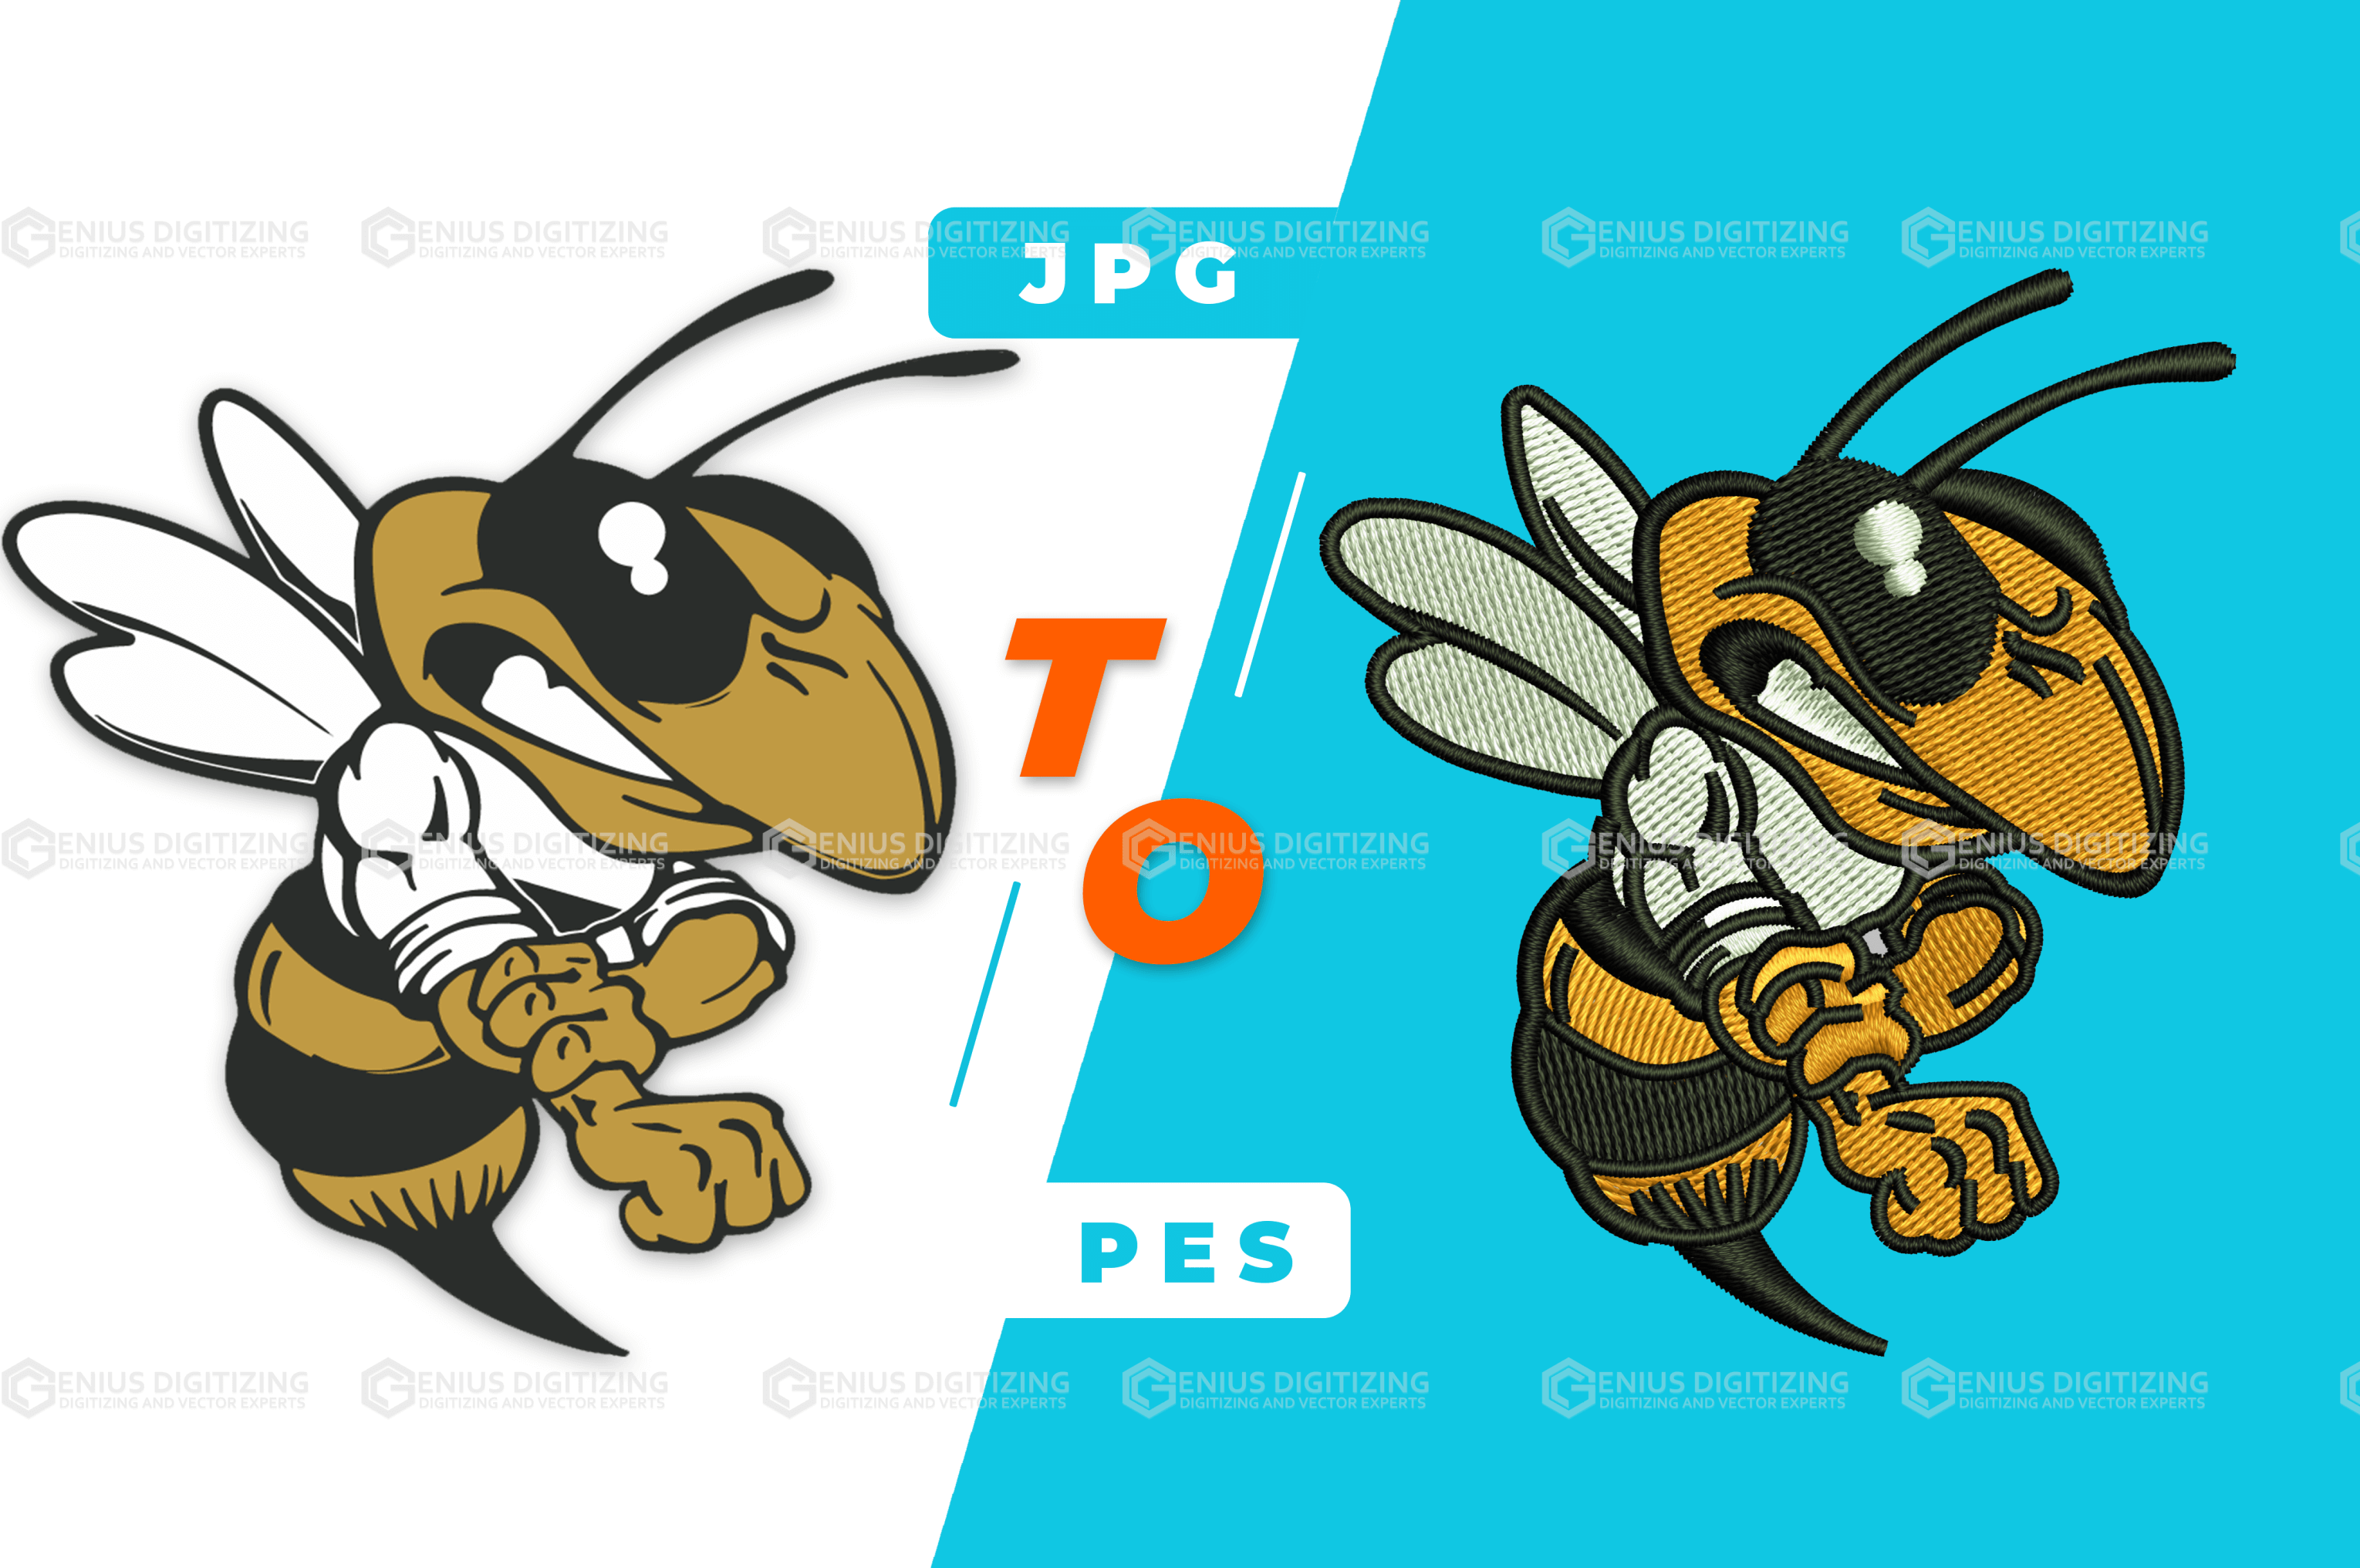
To Convert JPG To PES Embroidery File means turning a normal image into a stitch file for embroidery. A JPG shows the design on a screen, but a PES file tells the embroidery machine how to sew it. This process is called digitizing, and it helps create clean stitches on fabric.
A JPG or JPEG file is made of pixels. These tiny dots create the image you see on your phone, computer, or website. An embroidery machine does not follow pixels. It follows stitch commands.
A PES file gives the machine the sewing path. It helps the machine understand where to place stitches, when to stop, where to change color, and how the final design should appear on fabric.
This is why JPG to PES conversion is not the same as normal image conversion. You are not just changing one file type into another. You are changing artwork into a sewing plan.
What Is a PES Embroidery File?
A PES file is an embroidery design file commonly used with Brother embroidery machines and some other embroidery systems. It is made for machine embroidery, not for normal photo viewing.
A PES file can hold embroidery design information such as stitch details, design layout, and thread color information. This helps embroidery software and compatible machines read the design correctly.
For example, if you have a company logo and want it stitched on a shirt, the PES file helps the embroidery machine understand how the logo should be sewn. The machine follows the stitch path instead of looking at the image like a human would.
PES files are often used for:
- Shirts
- Caps
- Towels
- Bags
- Patches
- Jackets
- Aprons
- School uniforms
- Sports uniforms
If your embroidery machine asks for PES format, then a JPG image alone will not work.
Why Can’t You Use a JPG Directly on an Embroidery Machine?
You cannot use a JPG directly because embroidery machines do not sew images the way printers print pictures. A printer uses ink or toner. An embroidery machine uses thread, stitches, needles, and fabric movement.
When you Convert JPG To PES Embroidery File, the design must be rebuilt as stitch paths. Each part of the image needs to be planned properly. Large areas may need fill stitches. Borders may need satin stitches. Small text may need special adjustment so it stays readable.
The fabric also matters. A design stitched on cotton may need different settings than the same design stitched on fleece, denim, towels, or caps. Some fabrics stretch. Some are thick. Some have texture. These things affect how the stitches appear.
Poor conversion can create problems such as messy lines, gaps, uneven thread, hard-to-read text, and puckering. This is why proper embroidery digitizing is important.
When Should You Convert .JPG To PES?
You should Convert .JPG To PES when you want to use a JPG design on a PES-compatible embroidery machine. This is common when you have a logo, badge, name, symbol, or custom artwork that needs to be stitched on fabric.
You may need conversion before making:
- Staff uniforms
- Branded shirts
- Custom caps
- School badges
- Sports team apparel
- Name patches
- Promotional bags
- Personalized gifts
- Event merchandise
It is better to convert the file before production starts. This gives you time to check the design, adjust the size, confirm thread colors, and test the file if needed.
If the order is large, conversion should be done carefully. A small mistake in the file can affect every embroidered item.
Where Can You Convert JPG to PES Format?
You can convert jpg to pes format through embroidery digitizing software, online digitizing services, or professional embroidery digitizers.
Some online tools claim to convert images automatically. These may work for very simple shapes, but they may not create the best result for detailed artwork. Automatic tools often struggle with small letters, shadows, gradients, thin lines, and complex logos.
Professional digitizing is usually better for business logos, uniforms, and customer orders. A trained digitizer can decide the best stitch type, stitch direction, stitch order, and stitch density for the design.
A good online service should ask for:
- Image file
- Final embroidery size
- Fabric type
- Placement area
- Thread color preference
- Machine format required
- Any special design instructions
These details help the digitizer create a file that works better on real fabric.
Who Needs a PES File?
A PES file is useful for anyone who wants embroidery on a Brother or PES-compatible machine. This may include home embroiderers, small business owners, clothing brands, schools, sports teams, embroidery shops, and uniform suppliers.
A designer may also need a PES file when preparing artwork for a client. If the final product is embroidered, the design must be prepared for stitching, not just for viewing.
A PES file is also helpful when you want to reuse the same design later. Once your logo or artwork is digitized properly, you can use it again for future embroidery orders.
This saves time and helps keep the embroidery consistent across shirts, caps, bags, and other items.
How Does the JPG to PES Process Work?
The safest way to Convert JPG To PES Embroidery File is through embroidery digitizing. This means the image is carefully turned into stitch instructions.
The process usually works like this:
- You upload the JPG or JPEG image.
- The artwork is checked for clarity.
- The final embroidery size is confirmed.
- The design is traced into stitch areas.
- Stitch types are selected for each part.
- Thread colors are matched as closely as possible.
- Stitch direction and order are planned.
- The file is saved in PES format.
- A preview is checked before use.
- A test sew-out may be done before bulk production.
The goal is to make the design look clean when stitched. The digitizer must think about how thread behaves on fabric. This is why human review is often better than automatic conversion for professional work.
How Can You Prepare Your Image for Better Results?
To get a better PES file, start with a clear image. A blurry or low-quality JPG can make the final embroidery look rough.
Try to provide the best version of your artwork. If you have a vector file, logo file, or high-resolution image, send that too. Even if the final file must be PES, better source artwork helps the digitizer create cleaner stitches.
You should also share the final embroidery size. A design for a small chest logo needs different planning than a large jacket-back design. Very small text may not stitch clearly if the design is too small.
Also mention the fabric type. Cotton, caps, towels, fleece, and denim do not behave the same way during embroidery. The digitizer can adjust the file based on the fabric.
What Mistakes Should You Avoid?
Do not only rename the file from JPG to PES. That will not create a real embroidery file. The file must be digitized.
Do not use very small text if it can be avoided. Small letters may close up when stitched. Thin lines can also disappear or look uneven.
Avoid using images with too many shadows, gradients, or photo-like details. Embroidery works best with clear shapes and strong design areas. Complex images may need to be simplified before digitizing.
Do not skip the preview or sample. A screen preview is helpful, but a test sew-out shows how the design will look on actual fabric.
What Should You Check Before Using the PES File?
Before using the PES file for production, check the size first. Make sure the design fits the embroidery area and hoop size.
Next, check the thread colors. Colors on a screen may not match thread colors exactly. If brand colors matter, provide a thread chart or color code.
Also check the stitch count. A very high stitch count can take longer to sew and may feel heavy on the fabric. A very low stitch count may make the design look empty or weak.
Look closely at outlines and text. If the small details look crowded in the preview, they may be hard to read after stitching.
For bulk orders, always test the design on the same or similar fabric before full production.
Final Thoughts
If you want to convert jpg to pes embroidery file, remember that embroidery needs more than a normal image. It needs a proper stitch plan that your machine can follow.
Online tools may work for very simple designs, but logos, uniforms, caps, patches, and customer orders usually need careful digitizing. The right PES file can help your embroidery look cleaner, sharper, and more professional.
At Genius Digitizing, we help turn JPG and JPEG artwork into high-quality, affordable PES embroidery files for real production use. Whether you need a business logo, name patch, cap design, or custom artwork, our goal is to create a machine-ready file that stitches smoothly and looks close to your original design.
Before production, always check the size, colors, fabric type, and sample result. A well-prepared PES file can save time, reduce mistakes, and give your final embroidery a more polished finish.
FAQs
1. Can I convert a JPG to a PES file for free?
Yes, some free online tools may help with simple designs, but the result may not be embroidery-ready. A PES file needs stitch paths, thread planning, and size settings. For logos, uniforms, or detailed designs, professional digitizing usually gives cleaner and safer results.
2. Is converting JPG to PES the same as normal file conversion?
No. Normal file conversion changes one image format into another, such as JPG to PNG. Embroidery conversion is different because the image must be turned into stitch instructions. The machine needs to know how to sew the design, not just what it looks like.
3. What is the best image quality for JPG to PES conversion?
The best image is clear, sharp, and high-resolution. Avoid blurry screenshots, tiny logos, or images with heavy shadows. Simple artwork with clean lines, strong shapes, and readable text usually creates a better PES embroidery file.
4. Can a PES file be used on all embroidery machines?
No. PES files are mainly used with Brother and some compatible embroidery machines. Other machines may need formats like DST, JEF, EXP, or VP3. Always check your machine’s supported file type before ordering or uploading the embroidery file.
5. How long does it take to convert JPG to PES embroidery file?
Simple designs can often be digitized quickly, while detailed logos may take more time. The timeline depends on image quality, design size, stitch complexity, fabric type, and revision needs. A clean image with clear instructions usually makes the process faster.