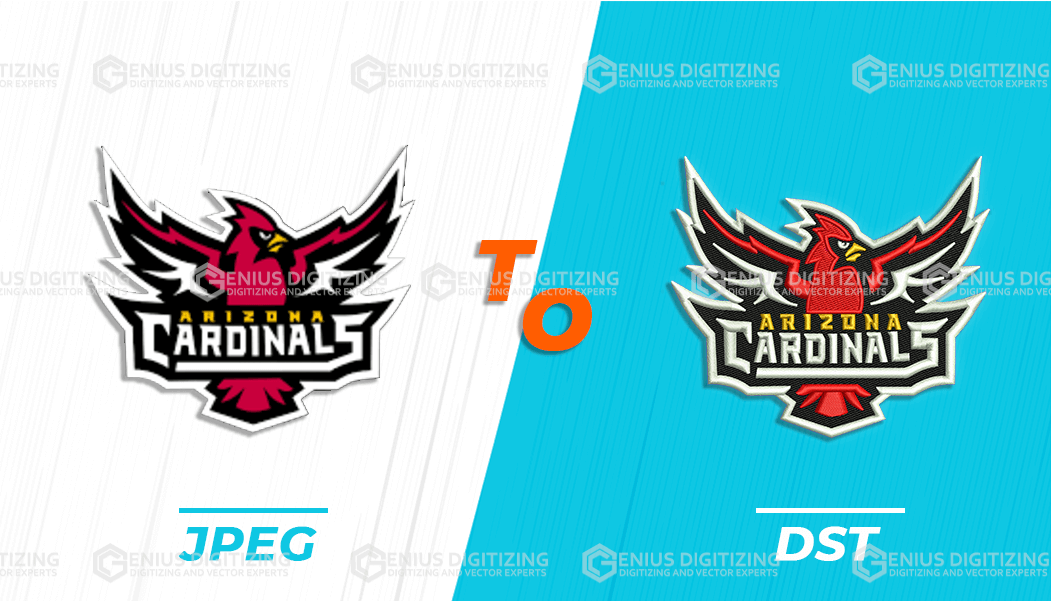
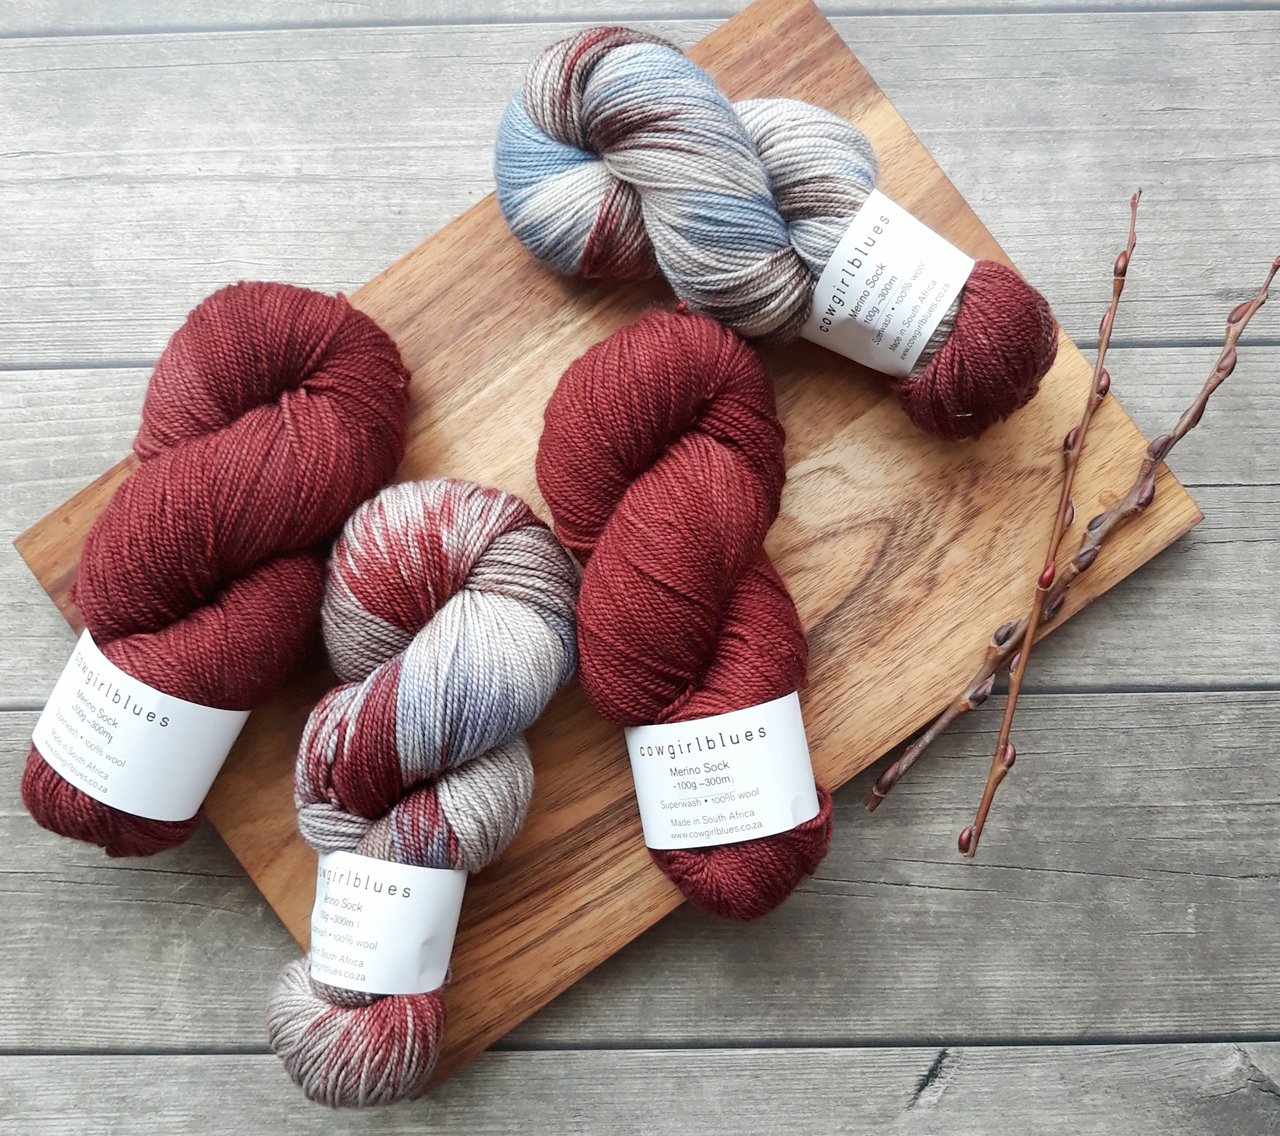
Embroidery Digitizing in United States
Digitizing means doing something that was previously done by humans, with the help of machinery. Simply put, digitizing means automation. When we talk about Embroidery Digitizing, this is the process in which embroidery is done with the help of the machines and computer programs. Withthe help of the technology and automation available to us today, you only need some basic embroidery knowledge and some technical skills regarding using a computer and you are set to go.
You can make the most intricate designs with these skills in a matter of hours, which used to take days.
There are some few simple steps that you need to follow to have the desired result from Embroidery Digitizing. Those steps are as under.
Difference Between Printing and Embroidery:

Not everything that can be printed can be embroidered as well. So this is the duty of the designer to identify if the artwork can be embroidered. Because printing it on paper and embroidering it on a piece of cloth are in no way the same thing. It might need to be simplified down or resized so that it looks good after embroidering.
Pathing:
Pathing is the process that is used in embroidery, which defines how the stitch is going to be done from start to end. It explains the path that the thread needs to follow to complete the design. This is very important. So after editing the artwork, the next step is to define pathing in the software that you are using for embroidery. You should take a lot of care in this step because if you are not careful, the final design might not look like what you put in, that is because the letters and the logo might be uneven.
The Stitch Type:
The next thing that you need to do in order to give your design a true shape is to assign the type of stitch. You need to assign the type of the stitch to every single part of the design. The first thing to consider while assigning the type of stitching is to assign the underlay stitch. These are not visible in the final logo, but they are very crucial for the design. The reason for that is that these stitches will hold the fabric in place for the final design, in order to reduce the “pull effect” on the cloth. This will
provide a smooth surface for the whole design, so that the cloth is not pulled or pushed while it is being embroidered.
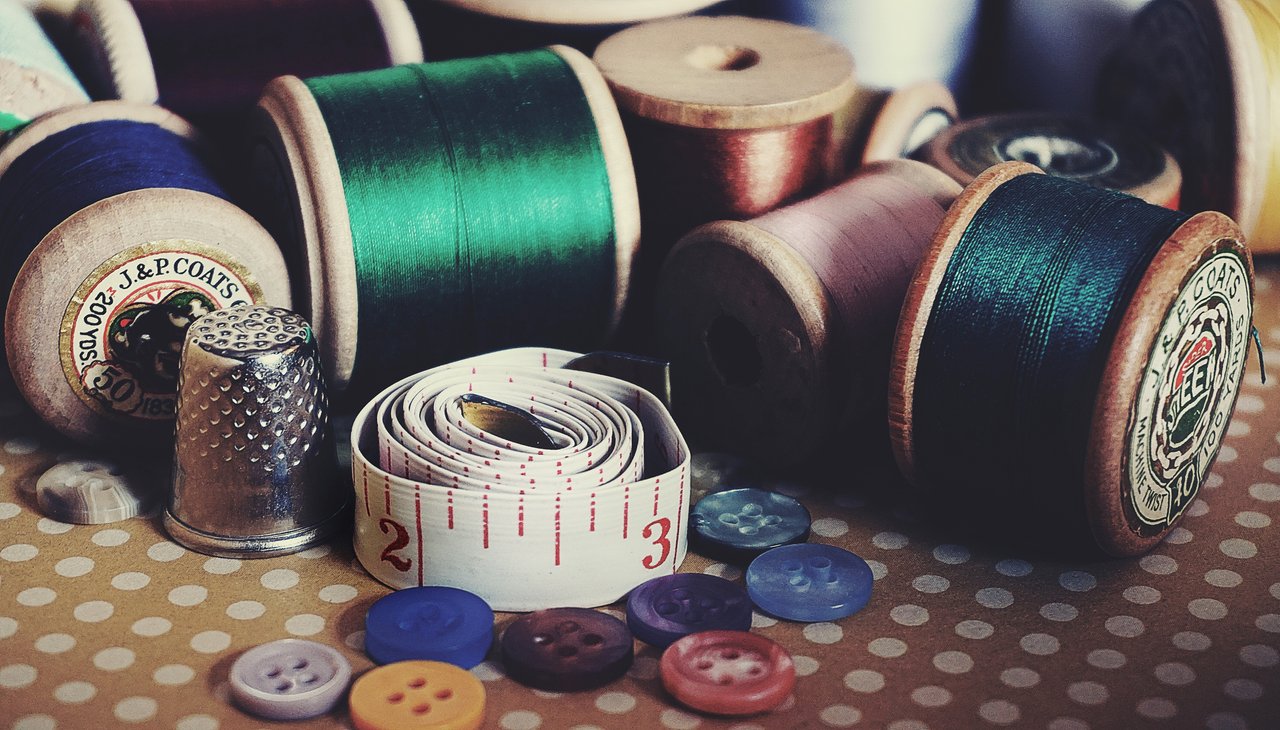
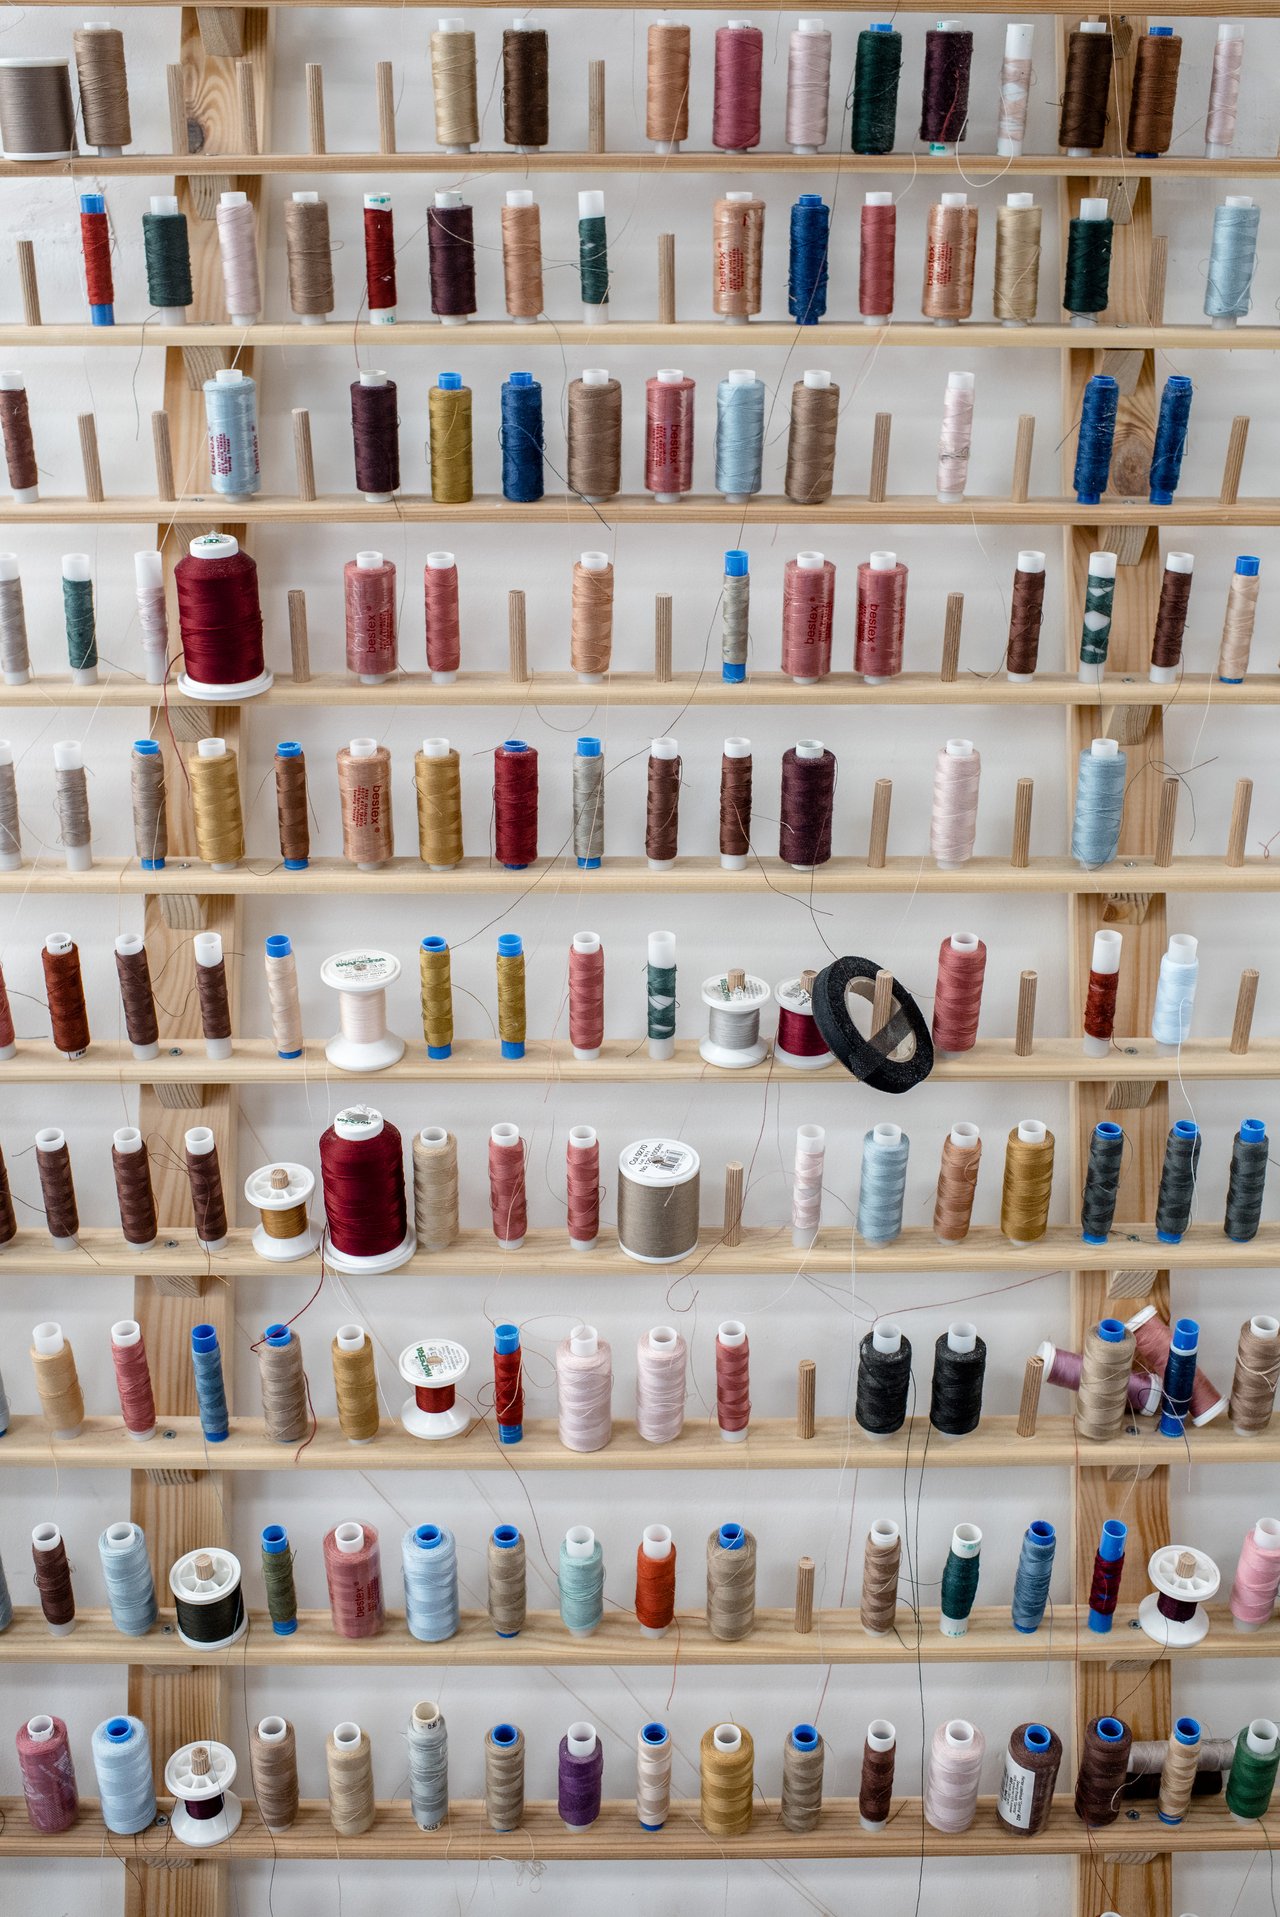
There are 3 types of stitch that are commonly used and those are run, satin and fill. These types are then further divided into categories, depending upon the nature of the work. So the designer has to identify what type of stitch, and which sub category is suitable for different types of fabrics. Because on some fabrics, that are quite soft, the stitch might sink in while on others, that are quite hard, the stitch might look like hovering over the surface.
Final Notes:
Although with the help of digitizing, the task of embroidering has been simplified to quite a bit. But still there is a need for proper supervision. The reason for that is that there might be some intricate logos and designs, which involve a number of different colours, designs, alphabets and letters. So not only do you need to supervise the work while it is being done, but you also must know about the details regarding the type of stitching and what type is suitable for what kind of fabric. Because a
well though design and carefully selected fabric will determine the quality of the final product.