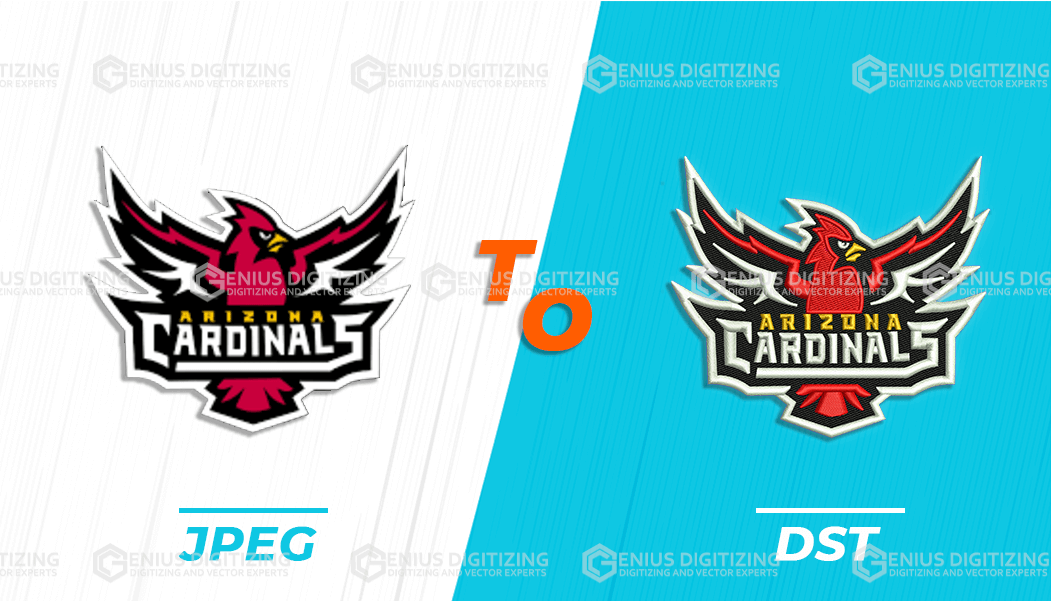
The Newest Version on How to Digitize a Logo Is Easy and Quick
Logo digitizing has been the most convenient method and just like all the other digitize techniques, digitizing the logo is done similarly. The machines used for this process help convert the image into real embroidery.
Digitized logos have come a far way with their route. It has been developed extensively over the past years. The USA was one of the first to help this business grow by practicing how to
digitize a logo without the power of machines. But as computers run the world these days, it is no shock how the machines used for digitizing are unique and special.
How to Digitize Your Own Logo?
Digitizing the logo for embroidery is quick because of the machines. This equipment is just made and specialized for digitized logos only. The method is straightforward but it requires man's strength and power. First, you have to insert your file type into the machine. Now, this is where a little bit of complication starts. The files used in these machines are different and are designed for specific individual printing methods. The most common files are JPG and PNG. Hence, you need to make sure you have the right file for the machine to read.
The second step is to make sure and set up the right size and measurements for your logo. This will be the exact size that will be the output so take your time with the measurements.
Step 3 is to choose your stitching type. This step also requires time and thought because there are numerous types of stitching for you to choose from. Each type has a limit to its stitching. Most people choose straight stitching.
Step 4 is to set the stitching direction. This is an important part because if the direction of the needle is not set correctly then your logo can be damaged and look different. Therefore, you cannot skip this step it is essential.
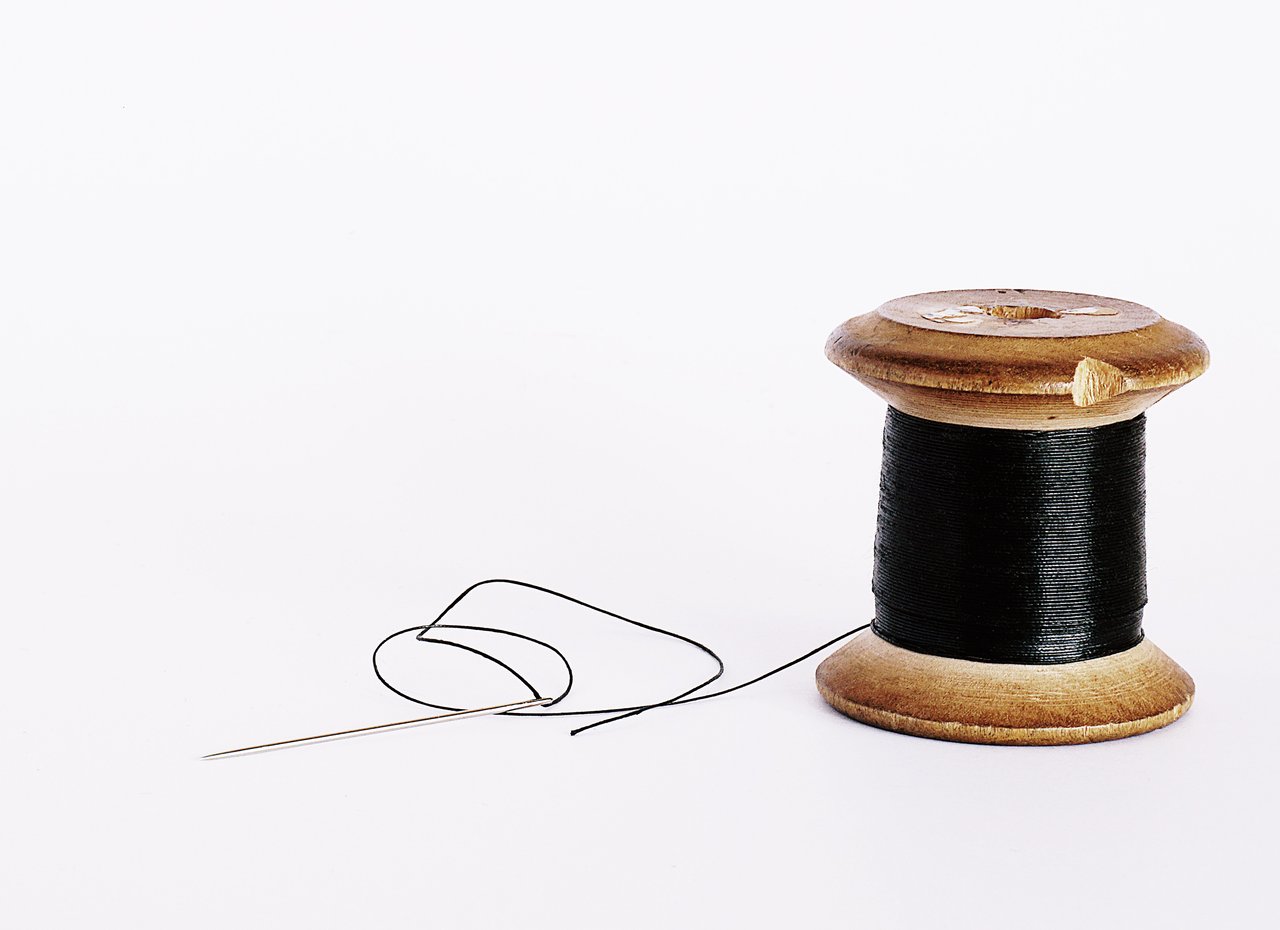
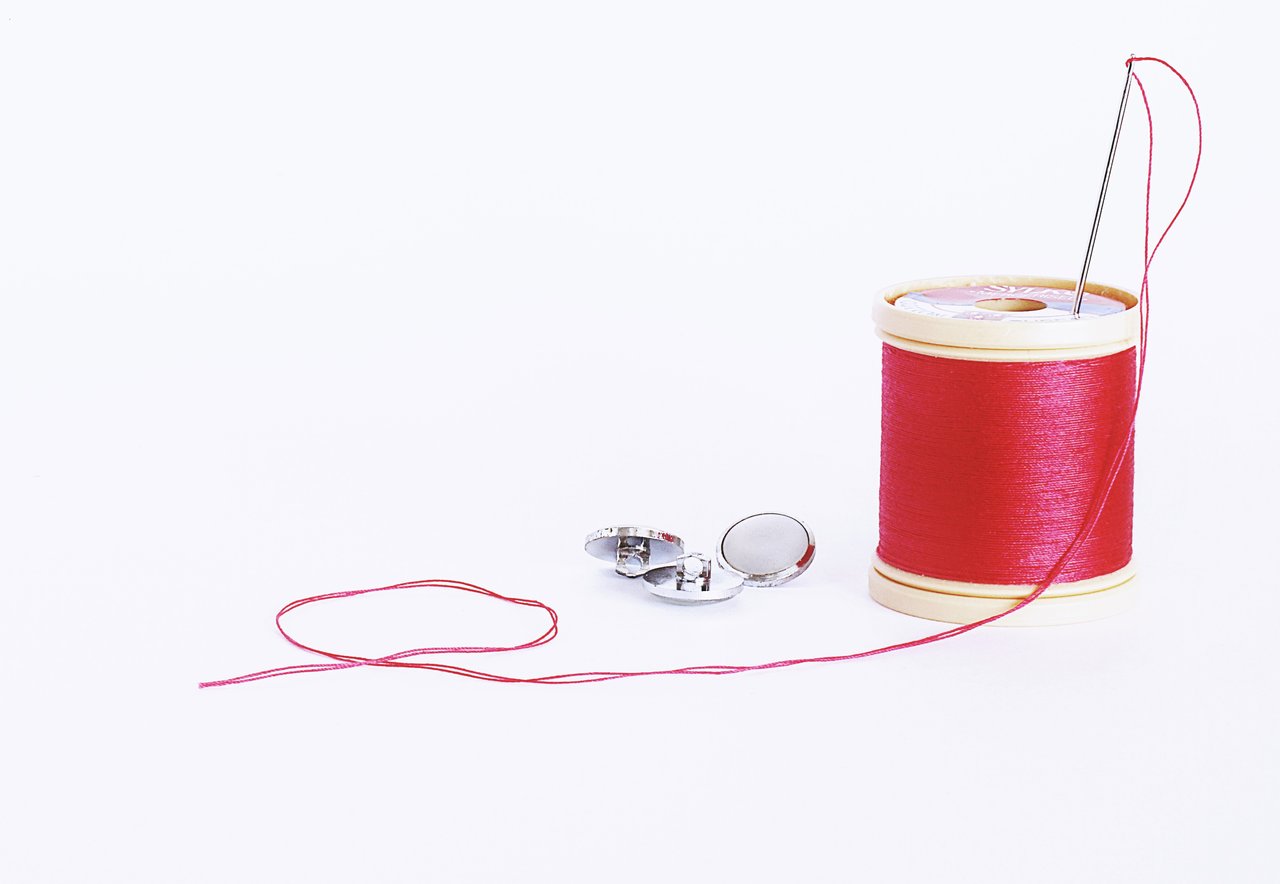
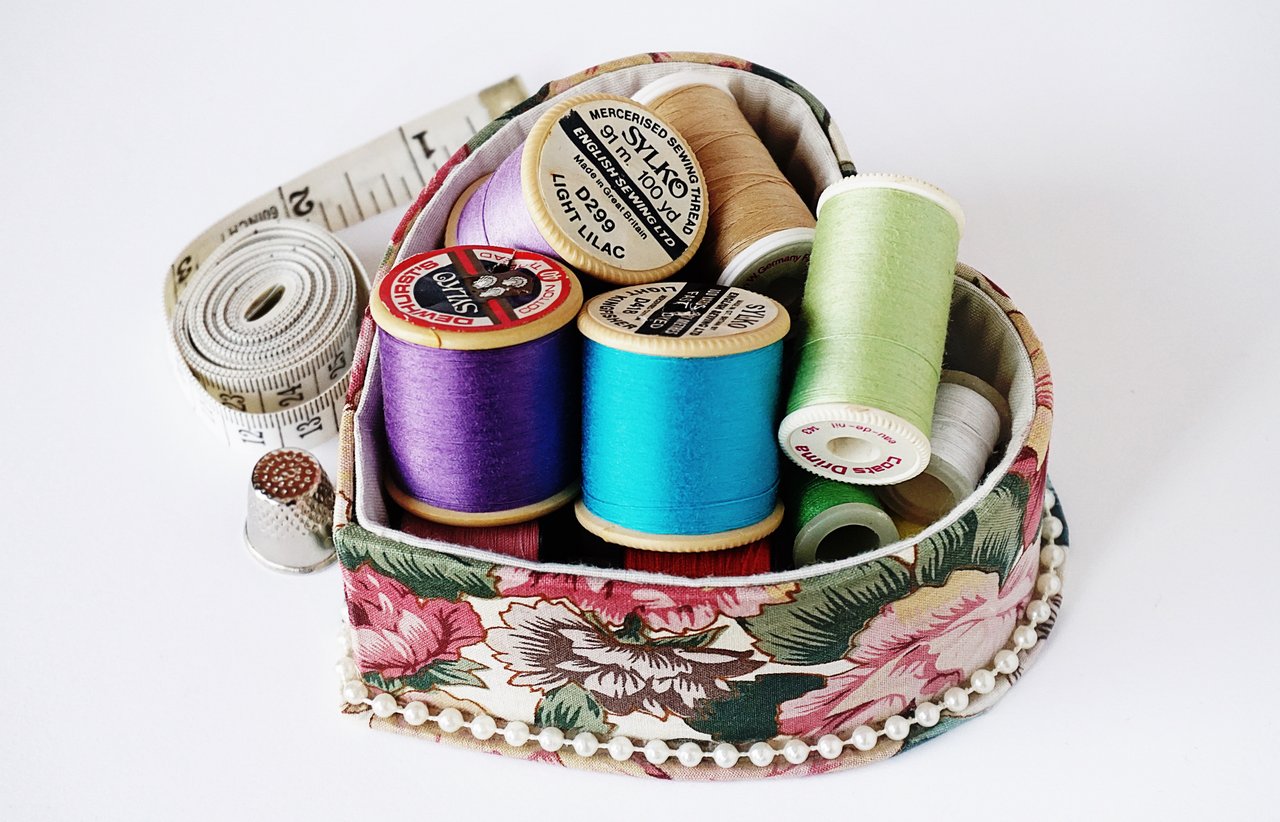
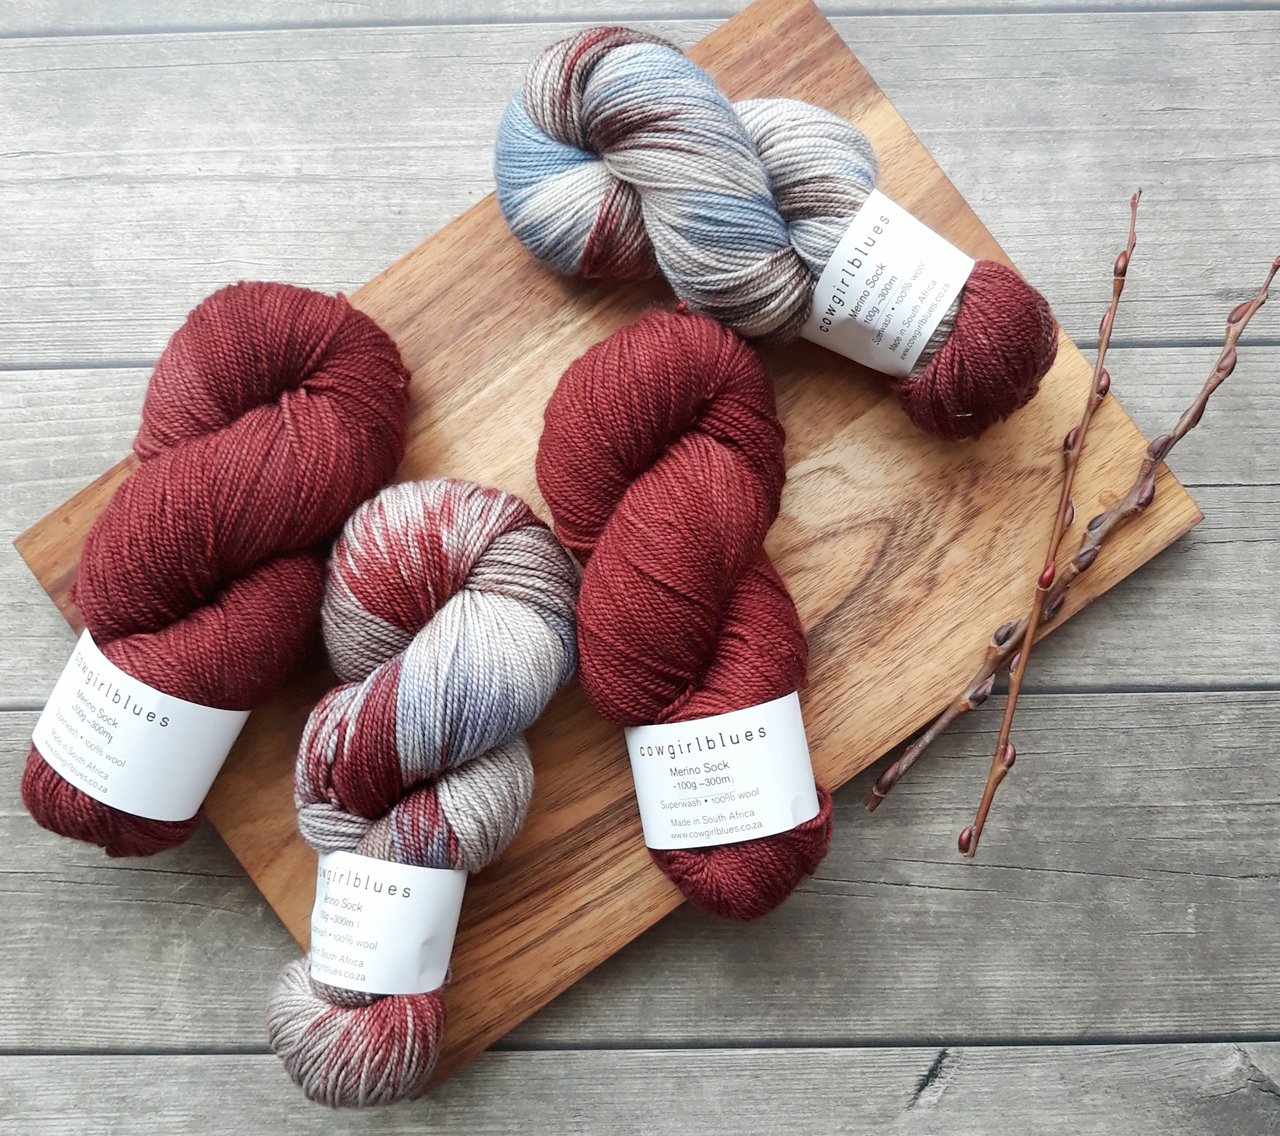
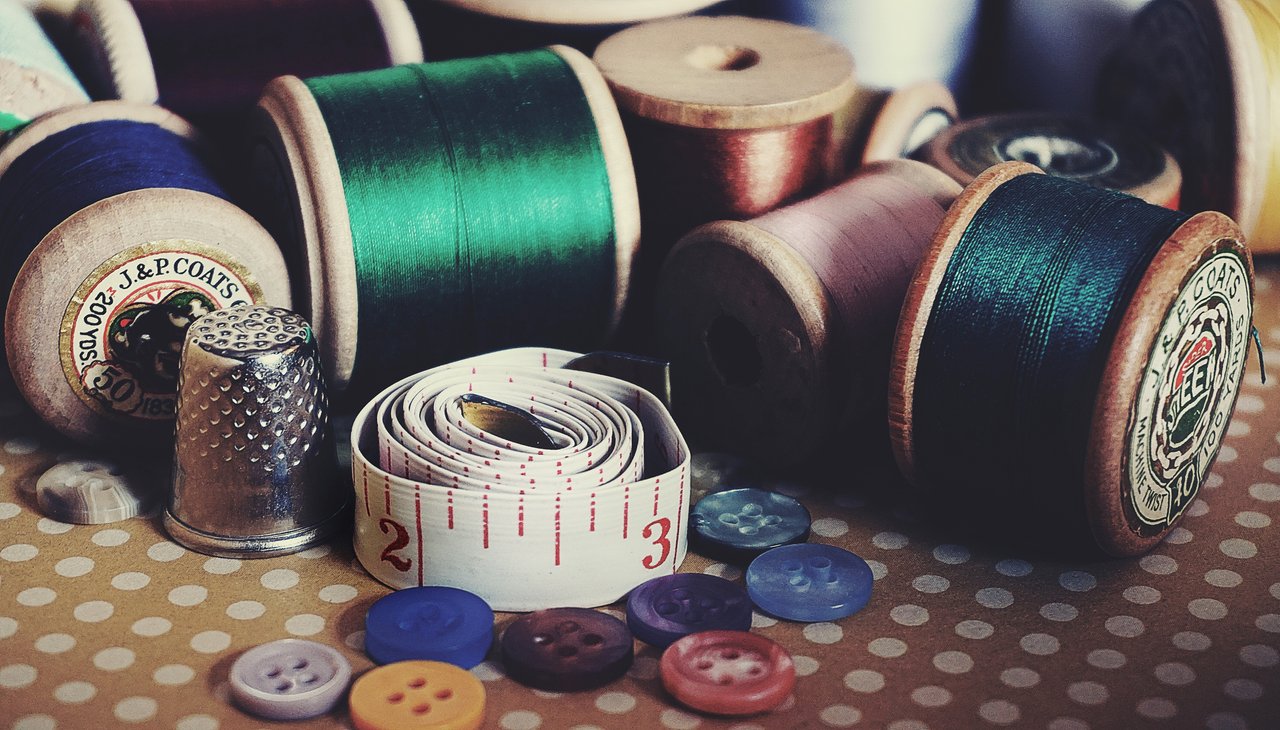
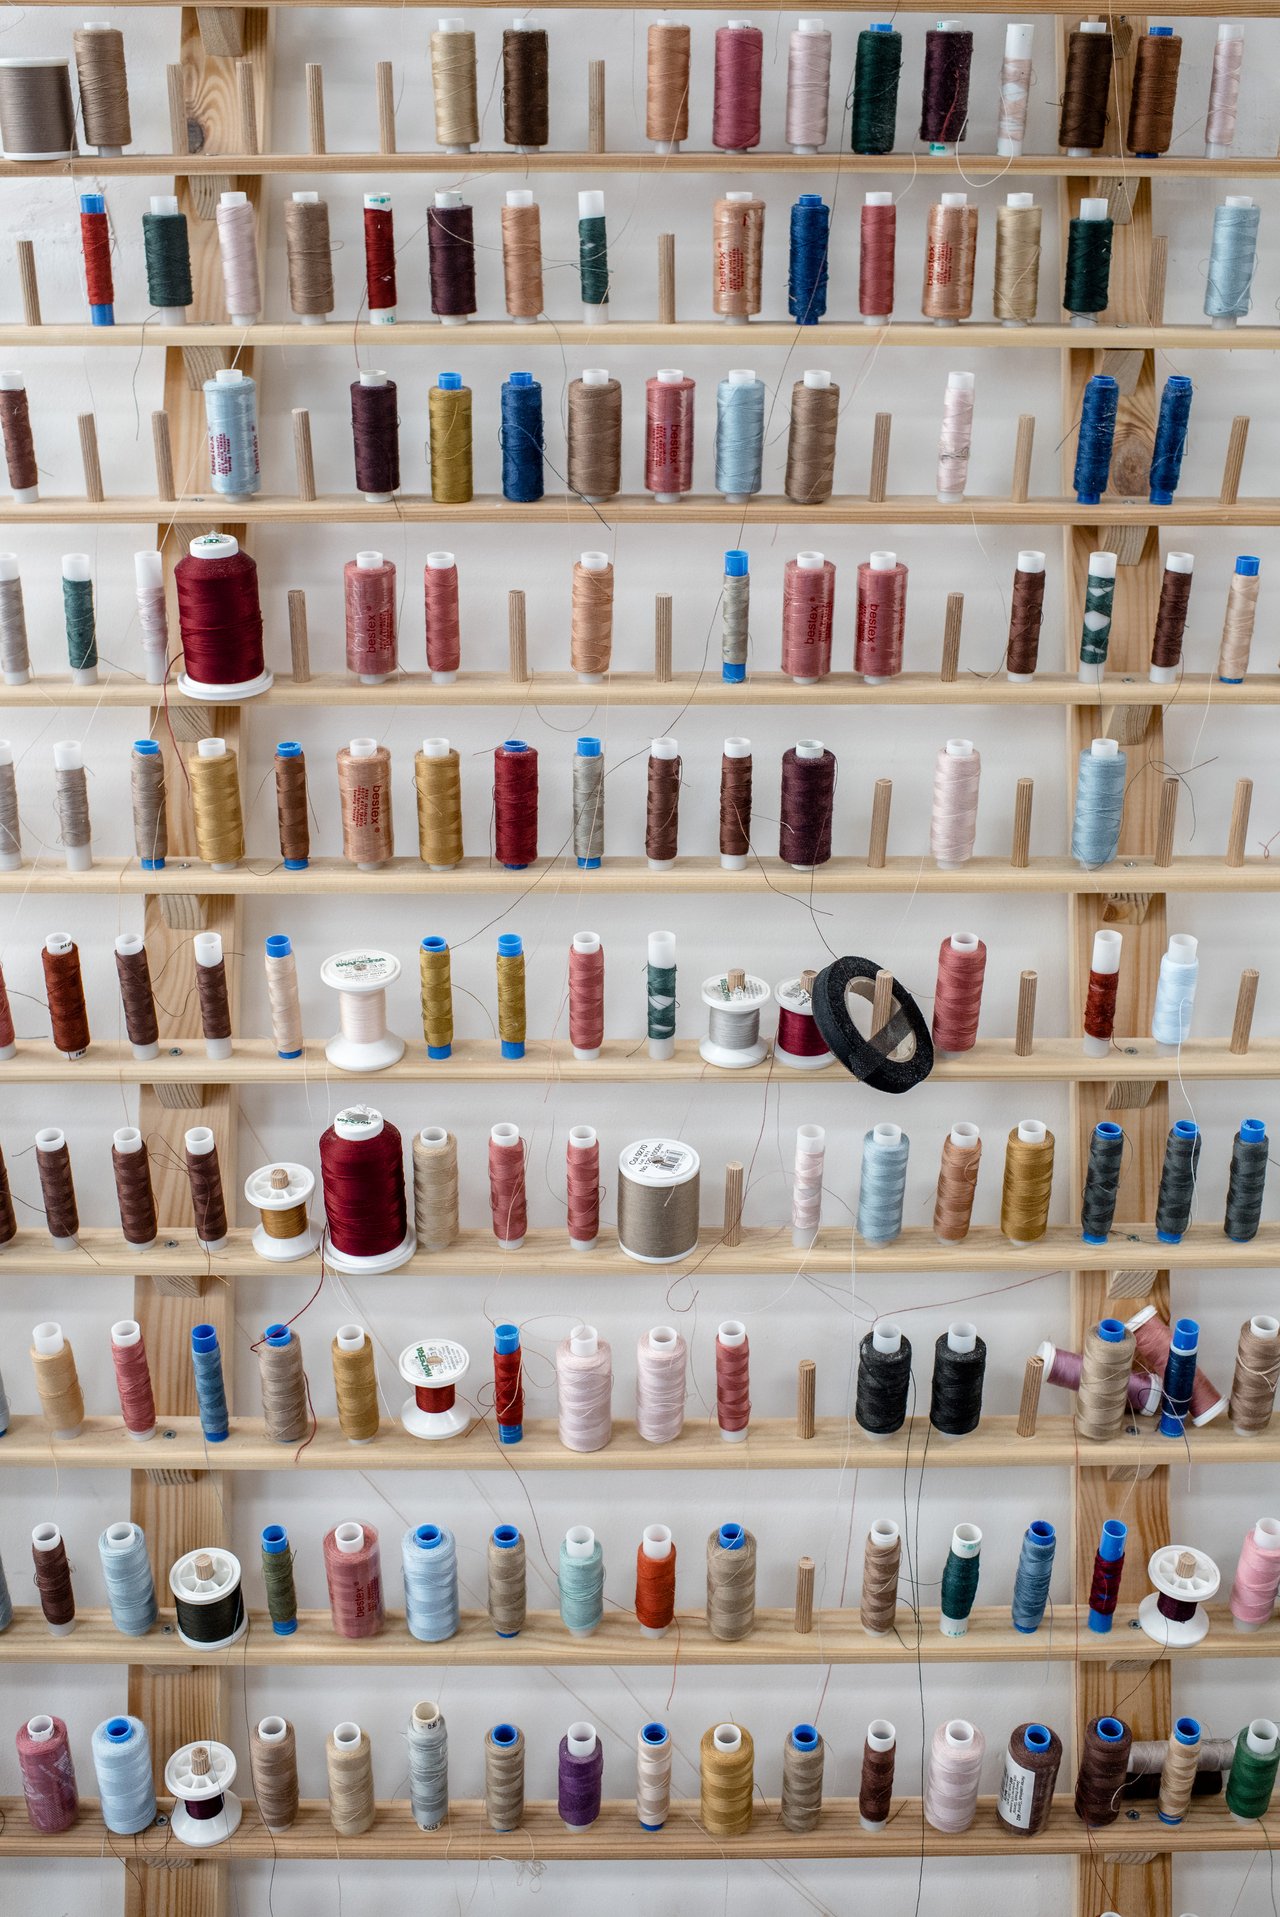
Lastly, step 5 is all about choosing thread colors. This is the most fun and exciting part of digitizing a logo. You have to select different color threads for your design and input them into the needle. Then you just have to send the file to the embroidery machine and command the machine and you’re all done now.
Types of Stitching
Straight stitching is used especially for logos and it sews the design straight. It can also sew curved lines. Stain stitch is used for text. If your logo included any sort of text then you should choose stain stitch it also gives it a shiny look. Lastly, the fill stitch just fills in patterns and designs.
Lastly, step 5 is all about choosing thread colors. This is the most fun and exciting part of digitizing a logo. You have to select different color threads for your design and input them into the needle. Then you just have to send the file to the embroidery machine and command the machine and you’re all done now.
Specification of Logo Embroidery
There are types of logo embroidery that you can pick from. The standard one is commonly is designed on jackets, shirts, caps, etc. There is a 3-D form of embroidery as well. It adds the most texture. And then there is laser form that is commonly used on swear shirts and jackets.
Logo Digitizing Services
How to digitize a logo can be sometimes tricky but don’t worry because Genius Digitizing will provide you with exactly what you need without any sort of imperfections. It has the best equipment and the right color choices for you to select.