Why Digitizing Logo is Your Best Option?
Why Digitizing Logo is Your Best Option?
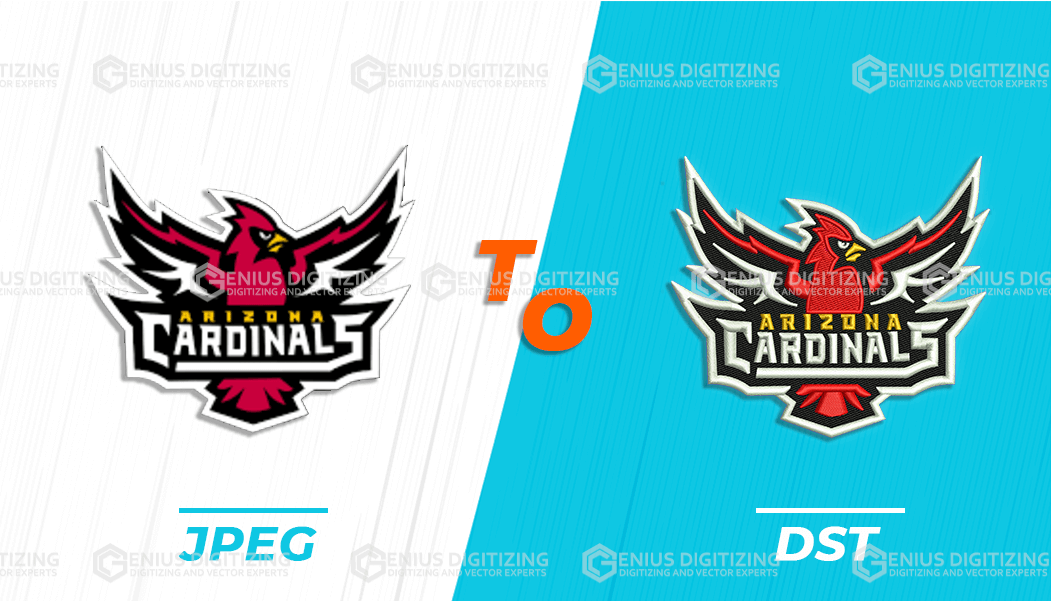
There’s a major difference between the formats of the files your computer is able to read, and the formats of the files a digital embroidery machine is able to read. Printing your logo onto any piece of cloth such as a t-shirt, hoodie, sock, bedcover, cushion, etc, through embroidery, you need to give instructions to a machine first. Producing a digital file of the graphic you want to embroider can help you in this process.
The process of converting your logo from graphic form to a digital format is the process of logo digitizing. There are several applications of a logo that has been digitized, and it’s very popular among businesses today. Let’s take a look at what a digitized logo can do.
What Is A Digitized Logo Used For?
Now that you know what a logo in a digitized format is, it’s important to understand its applications and uses so that you can decide where and how you want to use your digitized logos. Here’s how these logos are used:
- Designing of team items
Custom logos are embroidered onto a team’s apparel which includes hoodies, sweatshirts, t-shirts pants, etc. They’re used to represent a team, giving an identity to each player through the logo that has been stitched onto the shirt.
- Creation of promotional items
Another major use of digitized logos is in the designing of promotional items. For example, if a brand decides to conduct a giveaway contest, as part of its promotional campaign, then using a logo that has been digitized can help them gain recognition as a brand.
- Items for advertising
Most businesses digitize a logo for their advertising products. For example, if they’re sending their employees to a supermarket to advertise their product, introducing their brand to customers, they can digitize logo in order to gain recognition.
How to Digitize a Logo?
Digitizing a logo isn’t as complicated as it might seem we’ll explain the process step by step, to make it easier for you to understand it. To digitize your logo, here’ what you need to do:
- Choose a digitizing software, and upload your logo
Once you have chosen an appropriate program for the digitization process, you now need to upload your logo onto this program. Next, you’re going to crop out any blank spaces around the image that you want the machine to embroider.
- Select the size of this embroidery design
Before you digitize logo, you must decide the size of the design. Be careful in selecting the size, because the design is going to be sized according to the measurements you have fed into the program. Hence, you must make sure to measure the area of the product before you actually embroider the design.
- Selection of a stitch type
Next, you’re going to select the type of stitch you want to use for digitizing logo. This depends on the type of fabric you’re using, and the stitch length. Here are the 3 main types of stitches:
- Straight stitch
- Satin stitch
- Fill stitch
- Choose the direction of the stitch
This is going to form the basis of the ‘instructions’ your machine is going to follow, for embroidering your design onto the cloth.
- Choose colors for your thread
Select a color scheme for your logo depending purely on your preference, or on the colour scheme used for your brand.
Conclusion:
Don’t stress out thinking, ‘How will I digitize my logo?’ The process is fairly simple, requiring just your attention and focus.