How to digitize embroidery designs?
While you may think that the process of digitize embroidery designs is as simple as loading the embroidery design on to the digitizing software and let the software do the magic.
Unfortunately, that isn’t the case.
In reality, the process to digitize embroidery design is quite complex and multifaceted.
Fortunately, we at Genius Digitizing have brought you a detailed guide that will break down the embroidery digitizing process for you. So, without wasting any time let’s start our comprehensive guide to digitize embroidery design.
What digitize embroidery design means?
Embroidery digitizing is the process of converting artwork into an embroidery machine-readable digital format. Over the year, embroidery digitizing has become a hugely popular service amongst individuals and businesses alike who are looking to get exquisite embroidery designs for their clothing line or any other surface for that reason.
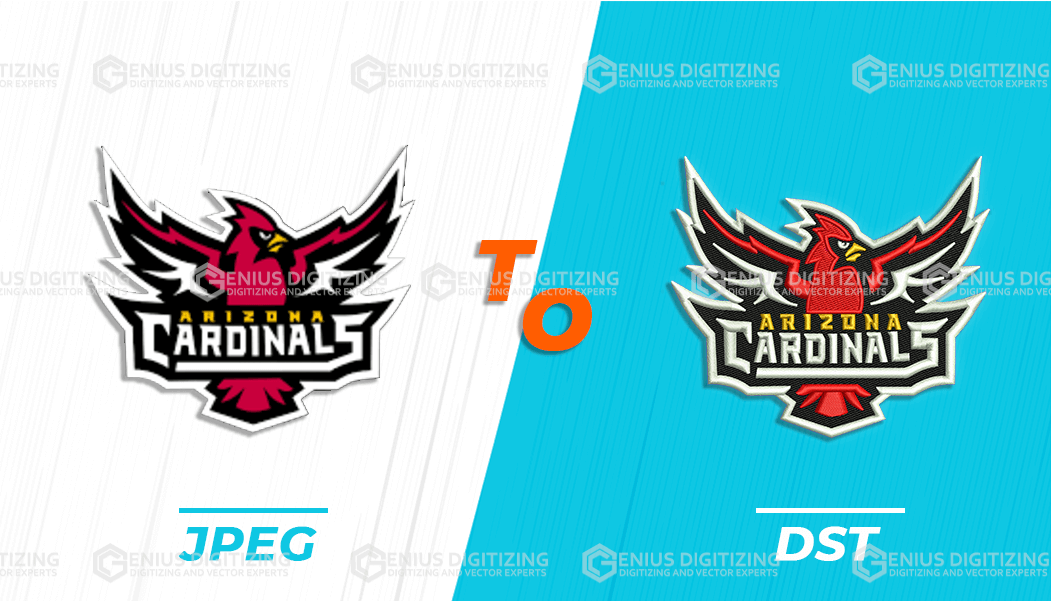
The process starts by opening a JPEG image, in case you have a sketch, which is performed by an expert designer who creates that artwork digitally and saves it into JPEG or other popular image formats. Once, you have a digital image format, the next step is to convert that format to an embroidery machine-readable format using exclusive digitizing software. Again, the software won’t do the magic itself, rather you will need to supervise the entire process to digitize embroidery design. The final file will be saved into an embroidery machine-readable format; .dst (most popular) or any other format.
Embroidery Machine File formats
.dst:
It’s one of the most popular embroidery digitizing file format and is used in embroidery machines from Tajima (a leading manufacturer of embroidery machines)
.exp:
Another popular file format that’s used with embroidery machines from Melco
.jef:
The .jef file format is used for commercial embroidery machines manufactured by Janome
.kwk:
The .kwk file format is used for commercial embroidery machines manufactured by Brother
.dsb:
Commercial embroidery machines manufactured by Barudan use this file format
.tap:
.tap embroidery file format is used by commercial embroidery machines manufactured by Happy
How to digitize embroidery designs?
So, even before beginning the process of embroidery digitizing, you will need to know the exact embroidery machine you are going to work with. That’s important because you will need the digitized file in the respected format used by the machine. Once you have the knowledge, you will start the process to digitize embroidery design. Again, this will start by using industry-standard digitizing software. There are various commercial digitizing software available in the market including:
- Wilcom Advanced digitizing software
- Husqvarna Premier+ Embroidery Software
- Brother Embroidery design software
- Janome Digitizing Software
- Embird Machine Independent Embroidery software
Each of these software comes with different features and tools, which you may choose as per your preference and needs. Furthermore, there are some free embroidery digitizing software also available in the market, however, those aren’t recommended for they lack the basic features and tools required to produce high-quality digitize embroidery designs.
Once you are done with choosing the preferred software, you can move on to the digitizing process. Below we have briefly described each of the steps involved in the digitizing process, so you can understand it better.
Step 1: Uploading the embroidery design onto the digitizing software
The first step is quite simply opening the digitizing software and importing the embroidery design (in JPEG, PNG or other formats) into the software. You should ideally crop out any unwanted parts of the design (including blank spaces) to be precise in your approach.
Step 2: Defining the size of digitizing embroidery design
The next step is to define the desired output size of your design. Remember, it’s an important step because the final embroidery design will be exactly the size you are going to define in this step. Thereby, it is important to define the size carefully and in line with the size of the fabric, you will be using at the later stage. Also, once you have defined the size, make sure to lock the image before moving to the next step.
Step 3: Choosing the Stitch Type
This is where the fun begins. You will need to choose the best type of stitch for the embroidery design. Now, there are different types of stitches to choose from, and your choice of the preferred stitch will be dependent upon various factors including the type of fabric, the complexity of the design and many more. Below are some of the most commonly used type of stitches used in the embroidery digitizing:
Straight Stitch
The straight stitch is the most basic and foundational type of stitch used to digitize embroidery design. As can be taken by name, these stitches are essentially straight lines, which can be made repeatedly to achieve the designed pattern. To create thick lines, you will need to repeat the stitches over and over again. An important aspect to remember is the fact that straight stitches aren’t just meant for straight lines, rather they can be made at different angles to create curved shapes as well.
Straight stitches are ideal to create shades, outlining or detail patterns in the embroidery designs.
Satin Stitch
Next in line, we have a very versatile type of stitch that is widely used for embroidery digitizing services. The satin stitches are used for a wide variety of purposes including text embroidery and creating borders. In essence, the satin stitches are made in a zigzag pattern from left to right, which can be used to make various designs. The use of longer thread in stain stitches gives them a glow that is ideal for lettering.
These stitches are ideal to create letters, numbers, borders and a shiny polished look for the embroidery design.
Fill Stitch
Moving on, the fill stitch is yet another important and frequently used type of stitch in the embroidery digitizing industry and is also referred to as a tatami stitch. As can be taken by name, these stitches are ideal to use in large spaces (for filling patterns). The fill stitches are made essentially as alternate lining, which gives them a woven appeal. These can be stretched to a maximum of 4mm.
Fill stitches are ideally used to create large embroidery designs, fill in large spaces in the design or to create a textured look in the design.
Step 4: Stitch Direction
Ok, now that you are done with choosing the right type of stitches to digitize embroidery design, it’s time to set the stitch direction. Now, essentially setting the stitch direction is like creating a navigational map for the embroidery machines to follow. Remember, embroidery machines don’t automatically decide the pattern of the design, rather, it is in this step that you will give step by step navigation for the machines to follow. If you are unable to adequately define the stitch direction in this step, the final product may end up with too many trims, jumps, and unprofessional design. Also, precisely defining the stitch directions will make the process of embroidery digitizing much more efficient, saving your time and thread.
Step 5: Setting Thread Colors
Once you have defined the stitch direction, next you are required to choose the colors for stitches using the color bar. It’s important to choose stitch colors as per the real image or to choose colors that go well with each other. The choice of colors will depend upon the final shade, the relief you want to achieve in your embroidery design, so be careful.
Step 6: Saving your file
So, now that you are done with most of the step, the final and also an important step is to save the digitized file into one of the many machine-readable formats that we have discussed above. Again, the file format will depend upon the embroidery machine you will use. Simple, choose the output file format and save the file. You can then import this file in a USB or flash drive to move it to the embroidery machine.
Step 7: Preparing Embroidery Machine
By now, you are done with all the steps required to digitize embroidery design, not it is time to prepare your embroidery machine to embroider the design. This will start by defining the different elements of the machine including the type of needle, type of thread, the embroidery sequence and the orientation of the design. All, of these, are important defining elements that will control the final product appearance. Also, make sure that the embroidery machine has all the different colors used in the embroidery design. Lastly, you will need to place the fabric or any other surface on which you require the embroidery into the arms of the machine.
Step 8: Test the digitize embroidery design sample
Here’s a pro tip, if you are looking for a commercial-scale embroidery design, make sure to initially test the digitize embroidery design on a sample. The first sample produced by the machine will give you a great opportunity to inspect different elements of the design for their aesthetics and other technicalities. If you feel there is a need for adjustment, go back to the step where the adjustment is required and test it again, until you have the perfect design, ready to be rolled out in commercial quantities.