How to Digitize Your Logo: A Simple Guide for Beginners
If you wish to use your logo for embroidery or computer-aided designs, you must first digitize your logo. But what exactly does digitizing a logo mean? And how do you go about doing it? In this blog, we'll tell you how to digitize a logo, particularly if you're going to use it for embroidery, and provide you with some simple tips to start with.
What Does It Mean to Digitize a Logo?
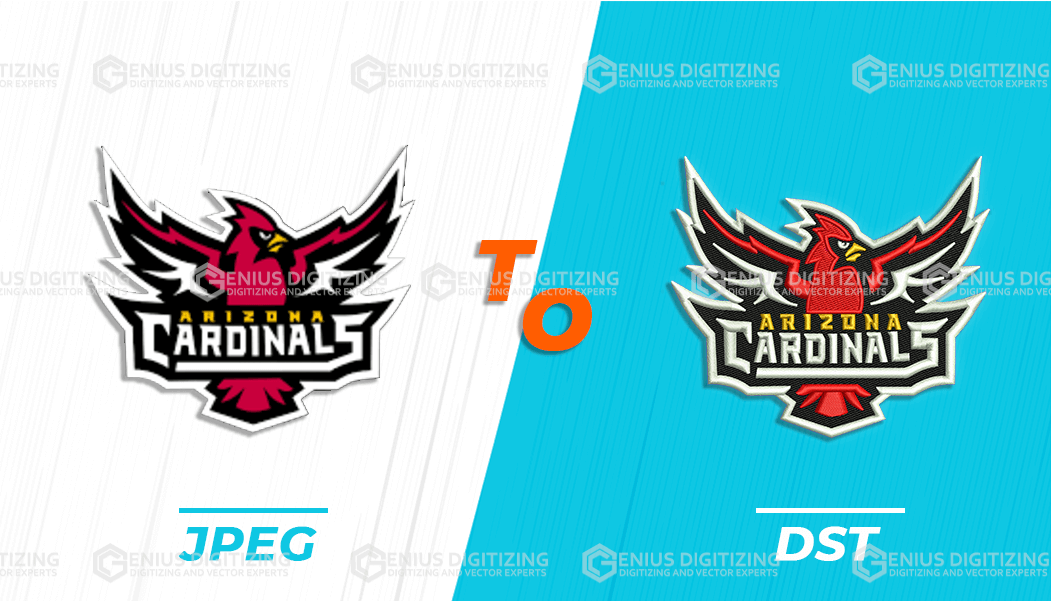
To digit/ize a logo is to transform your logo from an ordinary image file (such as a JPG or PNG) into a specific digital code that embroidery machines or computer-aided design (CAD) software can read. This process converts your logo to small stitches or vector outlines that are appropriate for embroidery, printing, or other electronic applications.
Why Digitize a Logo for Embroidery?
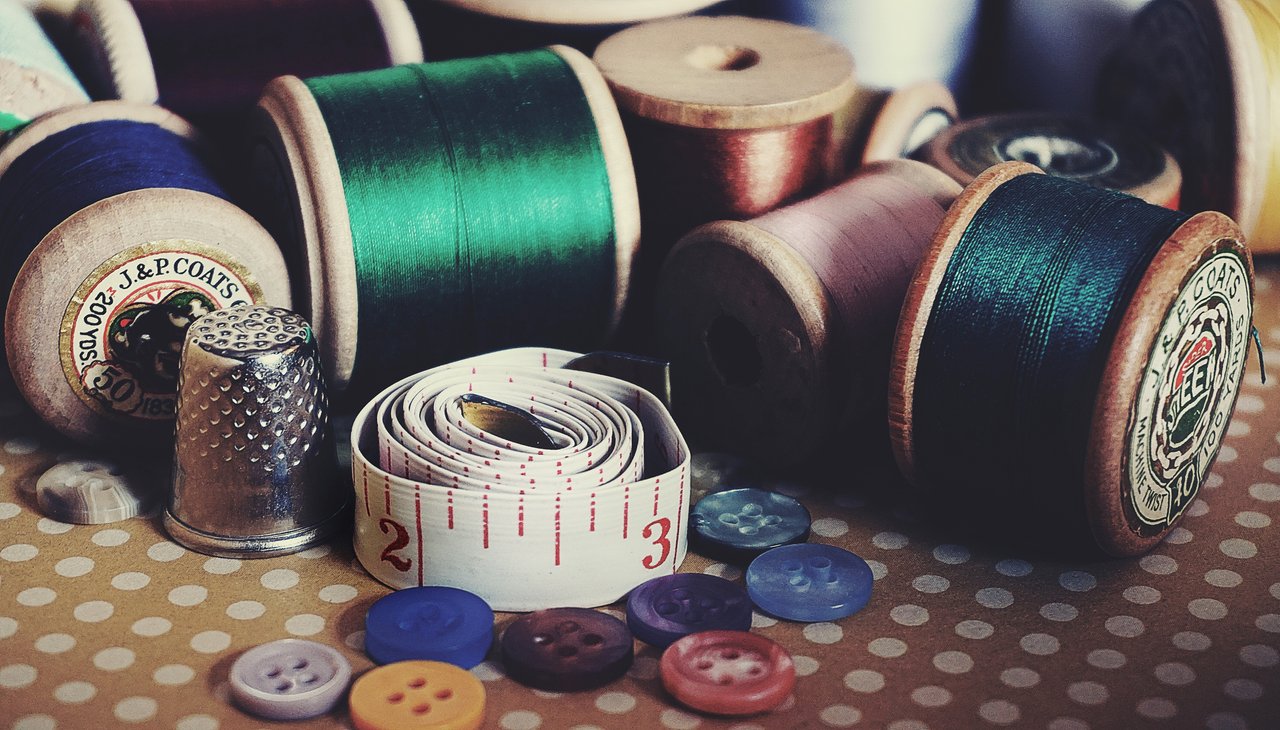
When you intend to embroider your logo on apparel, hats, or bags, you cannot simply use a normal picture file. Embroidery machines require a unique file format so they can understand how to sew the design with thread. That's why how to digitize a logo for embroidery is crucial — it ensures your logo turns out perfectly when embroidered on fabric.
How to Digitize a Logo: A Step-by-Step Guide
1. Select the Right Software
The simplest method to digitize a logo is with embroidery digitizing software. Wilcom, Brother PE-Design, or Hatch Embroidery Software are good, popular ones to use. They allow you to upload your logo and convert it into stitch data manually or automatically.
2. Prepare Your Logo
Start with a high-resolution, clear logo picture. Simple logos with fewer colors and straight lines are easier to digitize. If your logo contains delicate details, you will have to simplify it in advance.
3. Import and Trace the Logo
Start by opening your embroidery software and loading your logo file. Use the capabilities of the software to outline your logo. This tells the software where stitches are to go.
4. Set up Stitch Types and Directions
Next, choose the types of stitches (e.g., satin stitches or fill stitches) and the direction of the stitch. These settings will cause your embroidery to be smooth and professional.
5. Save and Export the File
When you complete digitizing, save what you did in the correct embroidery format (such as DST, PES, or EXP). This is the file you will send to the embroidery machine.
One-Time Logo Digitizing: Is It Worth It?
If you are just digitizing your logo once for a single project, it is advisable to use one-time logo digitizing services. There are many professionals or businesses that provide quick and cheap digitizing, thus freeing you from learning the software yourself.
Tips for Better Logo Digitizing
- Utilize high-resolution images for improved accuracy.
- Opt for a simple design for embroidery in order to prevent blurry stitches.
- Test your logo after digitization by sewing a sample prior to mass production.
- If you’re new, consider hiring experts for one-time logo digitizing to save time
Final Thoughts
Figuring out how to digitize a logo is a worthwhile skill if you're interested in making embroidered items or utilizing your logo digitally. Whether you choose to employ the use of embroidery digitizing software yourself or outsource for single logo digitizing, ensure that your logo is clean and crisp for maximum results. Begin digitizing today and give your logo new life!