How to Embroider a Hat: Tools, Setup, and Pro Tips (2026 Guide)
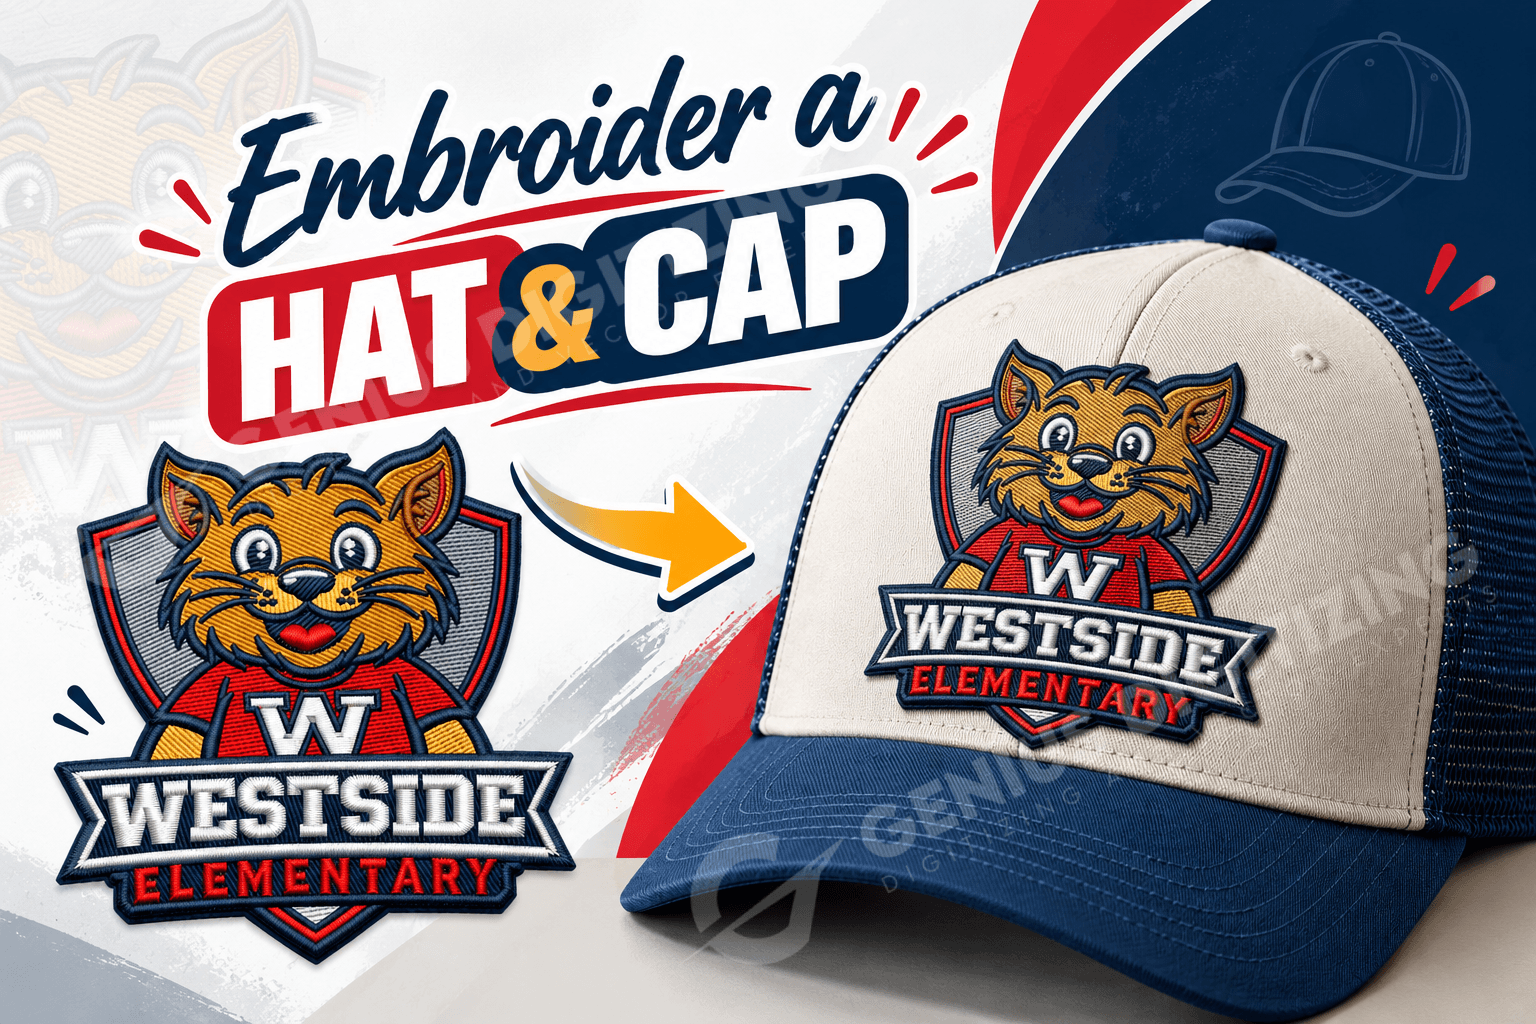
Custom hats and caps are among the most popular and profitable items in the machine embroidery industry. From corporate team branding and sports snapbacks to custom dad hats and promotional giveaways, cap embroidery is always in high demand. However, machine embroidery on hats presents unique challenges compared to flat garments like t-shirts or hoodies.
Because caps feature a 3D curved surface, heavy front seams, sweatbands, and limited embroidery area, achieving clean, professional results requires specialized setup. Success relies on five core pillars: caps or Hat digitizing, proper stabilizer, correct hooping technique, needle selection, and machine clearance.
Key Takeaways
- Center-Out Pathing: Cap embroidery files MUST stitch from the bottom-up and center-outward to prevent fabric bunching and distortion.
- Maximum Design Height: Keep front cap designs under 2.25" to 2.5" tall to avoid needle hits on the bill or crown curve.
- Stabilizer Selection: Use heavy 2.5oz to 3.0oz tear-away cap stabilizer for crisp, stable registration on structured caps.
- Isolate Sweatbands: Flip sweatbands outward and secure them under the cap frame clamp before hooping.
- Test Sew-Outs: Always run a test stitch on a spare cap or cap panel before starting bulk production.
What Makes Machine Embroidery on Hats Different From Flat Items?
Unlike flat fabric, a baseball cap or beanie is a three-dimensional object. When embroidering a cap, the machine turns the hat along a cylindrical axis (on commercial 270-degree cap drivers) or flattens it against a specialized hat hoop (on single-needle home machines).
Key physical factors unique to cap embroidery include:
- Curved Surface & Tension: As the needle moves toward the sides of the hat, fabric distance from the needle plate changes slightly, altering stitch tension.
- Heavy Center Seams: Six-panel caps feature a thick center seam where buckram fabric overlaps, increasing the risk of needle deflection or thread breaks.
- Sweatbands & Crown Structure: Sweatbands must be folded back, and structured buckram requires sharp needles to pierce cleanly without flagging.
Essential Tools Required for Machine Embroidery on Hats
To embroider caps cleanly and efficiently, ensure you have the proper tools before starting:
- Embroidery Machine: A commercial multi-needle machine with a 270-degree cap driver attachment (or a single-needle home machine with a cap hoop wizard).
- Cap Frame & Gauge Set: Heavy-duty cap clamps designed for your machine driver.
- Cap Stabilizer: Heavyweight tear-away cap backing (2.5oz–3.0oz stiff tear-away).
- Needles: 75/11 Sharp needles (for structured/canvas caps) or 75/11 Ballpoint needles (for beanies and knits).
- Thread: 40wt Polyester embroidery thread and 60wt/90wt polyester bobbin thread.
- Digitized File: A machine-ready DST or PES embroidery file digitized specifically for caps.
- Accessories: Painter's tape, binder clips, air-erasable marking pen, curved thread snips, and a heat gun (for 3D puff thread cleanup).
Why Cap Digitizing Pathing Is Critical (Center-Out Rule)
You cannot use a standard shirt digitizing file on a baseball cap. Flat shirt designs usually stitch from left-to-right or top-to-bottom. If you run a left-to-right design on a curved cap, the foot will push a wave of fabric ahead of it, causing severe puckering, misalignment, and distorted letters.
Proper Cap Digitizing Rules:
- Bottom-to-Top Stitching: Stitches start near the bill seam and move upward toward the crown.
- Center-Outward Pathing: Stitches start in the middle seam and branch outward to the left and right sides simultaneously. This anchors the middle seam and pushes excess fabric evenly to the sides.
- Underlay & Density: Requires a heavy center-line walk stitch underlay to anchor the cap seam before applying satin or fill stitches.
If you need custom artwork converted for hats, professional embroidery digitizing services ensure proper pull compensation and center-out sequence setup.
Choosing the Right Cap Style & Max Embroidery Dimensions
Not all hats embroider the same way. The style of the hat dictates your maximum stitch height and stabilizer requirements:
| Cap Style | Front Panel Structure | Max Stitch Height | Recommended Setup |
|---|---|---|---|
| Structured Snapback (6-Panel) | Firm buckram lining; holds shape | 2.25" – 2.50" Max Height | Heavy tear-away backing; 75/11 Sharp needle; center-out pathing |
| Unstructured Dad Hat (6-Panel) | Soft fabric; no internal support | 2.00" – 2.25" Max Height | Heavy tear-away or sticky stabilizer; pull cap band tight when clamping |
| 5-Panel Trucker Hat | Seamless foam or canvas front panel | 2.50" – 2.75" Max Height | Easy to embroider; no center seam to worry about |
| Knit Beanie / Winter Cap | Stretchy ribbed fabric | 2.00" – 2.50" Max Height | Cut-away stabilizer + Water-soluble topping; 75/11 Ballpoint needle |
How to Hoop a Hat Step-by-Step
Proper hooping prevents crooked logos and needle strikes. Follow these steps to hoop a cap on a commercial cap driver gauge:
- Prepare the Cap: Unsnap the back closure. Pull the inner sweatband completely outward away from the front panel.
- Apply Stabilizer: Lay a strip of 2.5oz stiff cap tear-away stabilizer across the cap frame cylinder gauge.
- Position the Cap: Slide the cap over the cylinder. Ensure the center seam lines up exactly with the red center notch on the framing gauge.
- Latch the Strap: Pull the flexible steel band over the cap bill seam. Clamp it firmly so the front panel lies completely flat without wrinkles.
- Secure Sweatband: Tuck the sweatband under the lower clips or tape it back so it cannot slip into the sewing field.
- Double Check Alignment: Eyeball the bill and center seam from the front. If the center seam is slanted, release the latch and realign before locking.
3D Puff Embroidery on Hats (Pro Tips)
3D Foam (Puff) embroidery adds a raised, high-end look to cap logos. If you are embroidering 3D puff on hats, follow these essential rules:
- Use 2mm to 3mm EVA Foam: Match foam color closely to your thread color so exposed edges blend in.
- Digitizing Requirements: 3D puff requires high-density satin stitches (approx. 0.2mm to 0.25mm density) with heavy capping (open satin ends) to slice the foam cleanly. Never use fill stitches over foam.
- Cleaning Excess Foam: After stitching, peel the foam away. Use a hot air gun (or hairdryer) briefly over the design to shrink and hide any tiny foam bits sticking out through the thread.
Step-by-Step Tutorial: How to Embroider a Hat on an Embroidery Machine
- Load the Cap File: Load your center-out digitized DST file into your machine.
- Mount the Hoop: Slide the cap hoop onto your machine's rotary driver unit until it clicks into place.
- Trace/Frame Check: Run a trace box on your console to ensure the presser foot clears the bill by at least 1/2 inch and won't strike the metal frame.
- Set Color Sequence: Program your thread color stops on the machine screen.
- Start Machine at Low Speed: Run the machine between 500 to 650 SPM (Stitches Per Minute). Running too fast on caps increases needle deflection and thread breaks.
- Inspect Underlay: Watch the first 100 stitches to ensure the center-line underlay anchors the seam cleanly.
- Unhoop and Clean: Remove the cap, tear away excess backing from the inside, trim any jump threads, and fold the sweatband back into place.
Troubleshooting Common Cap Embroidery Issues
- Design Stitched Crooked: Caused by un-centered hooping or aligning with a crooked bill. Always align relative to the vertical crown seam.
- Frequent Needle Breaks: Needle is striking the bill stiffener or seam overlap. Lower design height away from the bill, or upgrade to a heavier 80/12 Sharp needle.
- Looping Stitches / Bird-Nesting: Sweatband slipped into the sewing area or upper thread tension is too loose. Re-hoop with sweatband clipped securely.
- Gaps in Lettering: File was digitized for a flat garment. Re-digitize with center-out pathing and increased pull compensation.
Frequently Asked Questions (FAQ)
Can you embroider a hat on a home single-needle machine?
Yes, but with limitations. Single-needle flatbed machines require specialized hat hoops or sticky-stabilizer floating techniques. You can embroider soft dad hats or unconstructed caps, but structured snapbacks with rigid bills are difficult without a 270-degree rotary cap driver.
What thread is best for hat embroidery?
100% Trilobal Polyester thread (40 weight) is industry standard. Polyester provides high tensile strength, resists breaking over heavy cap seams, and withstands sunlight and washing without fading.
How close to the bill can you embroider?
Leave at least 0.3" to 0.5" (half an inch) of clearance between the bottom of your design and the brim of the hat. Stitching too close to the bill causes the presser foot or needle clamp to hit the brim stiffener, breaking needles.
What is the average maximum size for a front cap logo?
For standard adult caps, the maximum design dimensions are generally **4.5" wide by 2.25" high**. For low-profile dad hats, keep the height under **2.0"**.
Final Thoughts
Mastering how to embroider a hat opens up high-margin opportunities for custom apparel decorators and commercial print shops. By utilizing cap-specific center-out digitizing, heavy tear-away stabilizer, precise hooping alignment, and proper machine clearance, you can produce crisp, retail-quality headwear every time.
Genius Digitizing, we provide high-quality, machine-ready cap digitizing files optimized for Tajima, Barudan, Brother, Ricoma, and Janome machines across the USA. Contact us today to turn your artwork into clean, production-ready cap embroidery files.