Machine Embroidery On Satin Fabric
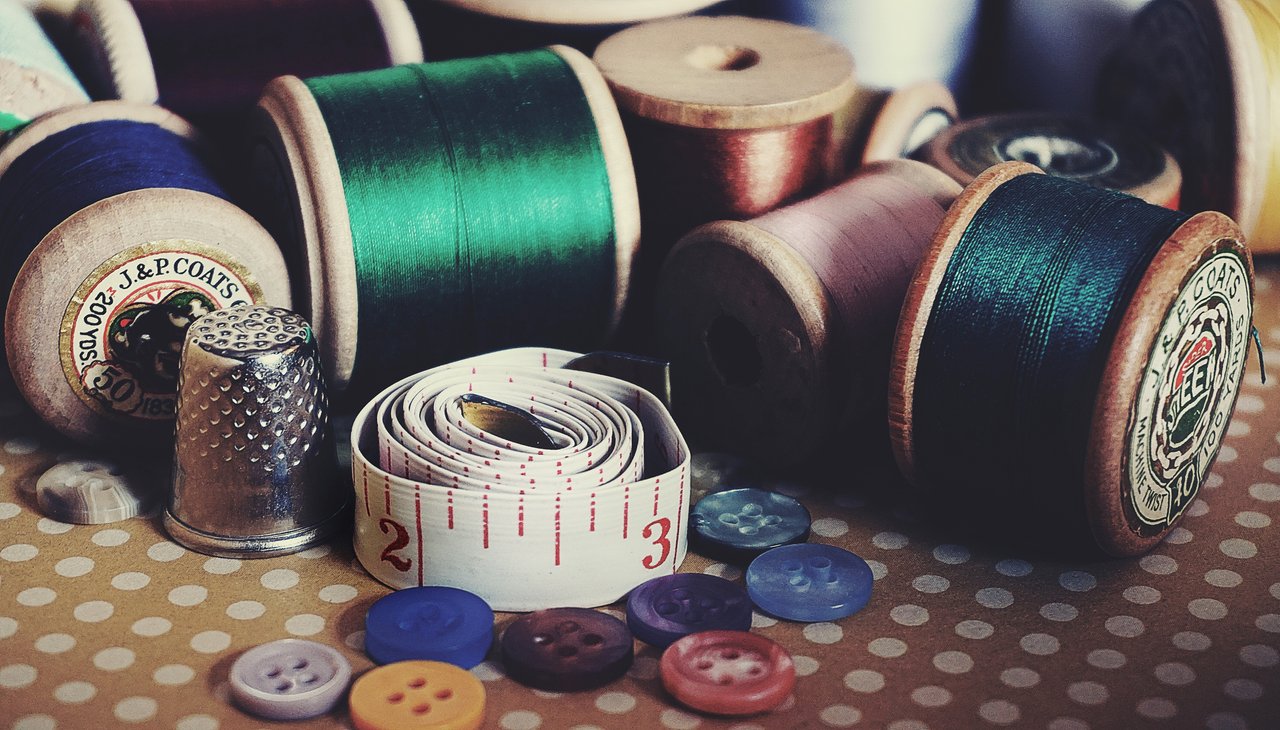
Satin is a popular fabric preferred for its shine and smooth feel. The term “Satin” actually refers to the weaving pattern of the fabric, which creates a slippery, silky, shiny, and easy to fray fabric.
While satin may be highly preferred by users, it’s certainly a tricky fabric for embroidery purposes. Here in this blog, we will be looking at some simple yet effective tips and tricks that can help simplify the process of machine embroidery on satin fabrics.
What is a satin fabric?
The satin fabric may be produced either by synthetic threads or silk fibers. The fabric produced either way is sold as “Satin” fabric, even though there is a large price gap between the two products. Similarly, Satin fabrics manufactured by weaving polyester or cotton threads are commonly known as “Sateen.” Thereby, it’s essential to check the bolt label to get to know the exact fiber content and care instructions for the fabric.
Brocade, slipper satin, charmeuse, sateen, velvet satin, and antique satin are some of the fabrics that come under the Satin family. Each of these fabrics has its specific use; for instance, the antique satin comes with a nubby texture and is highly preferred for drapes. Alternatively, the Charmeuse fabric is an excellent choice for lingerie, thanks to its lightweight and delicate appeal. Overall, the satin fabric family is mainly used to produce formal wear; however, these can also be used to produce pillowcases, ribbons, athletic clothing, neckties, linings, and others.
As mentioned above, there are specific challenges that come with machine embroidery on sating; however, almost all challenges can be overcome with the right strategy and execution.
For starters, it’s recommended to hoop satin fabrics with its stabilizers. While directly hoping may leave some hoop marks on the fabric, those can easily be removed at later stages. Similarly, it’s recommended to use a pressing cloth and not bring satin fabric in direct contact with iron to avoid any water/steam marks on the fabric.
The key to achieving stunning results for machine embroidery on stain is to carefully perform a series of small steps.
What are the challenges for machine embroidery on satin?
Well, multiple challenges need to be addressed when embroidering on satin fabric. For starters, the satin fabric has a slippery and extra smooth surface, which makes it extremely tricky to work with. Things can get even trickier during machine embroidery on satin since creating even stitches at high speeds on slippery satin surfaces may deteriorate the overall texture of the design. Also, the satin fabric has the tendency to pucker, which means you need to be extra prepared to come up with decent results.
Nonetheless, below, we will be looking at some of those crucial steps that can help you achieve stunning machine embroidery on satin.
Steps for Machine Embroidery on Satin
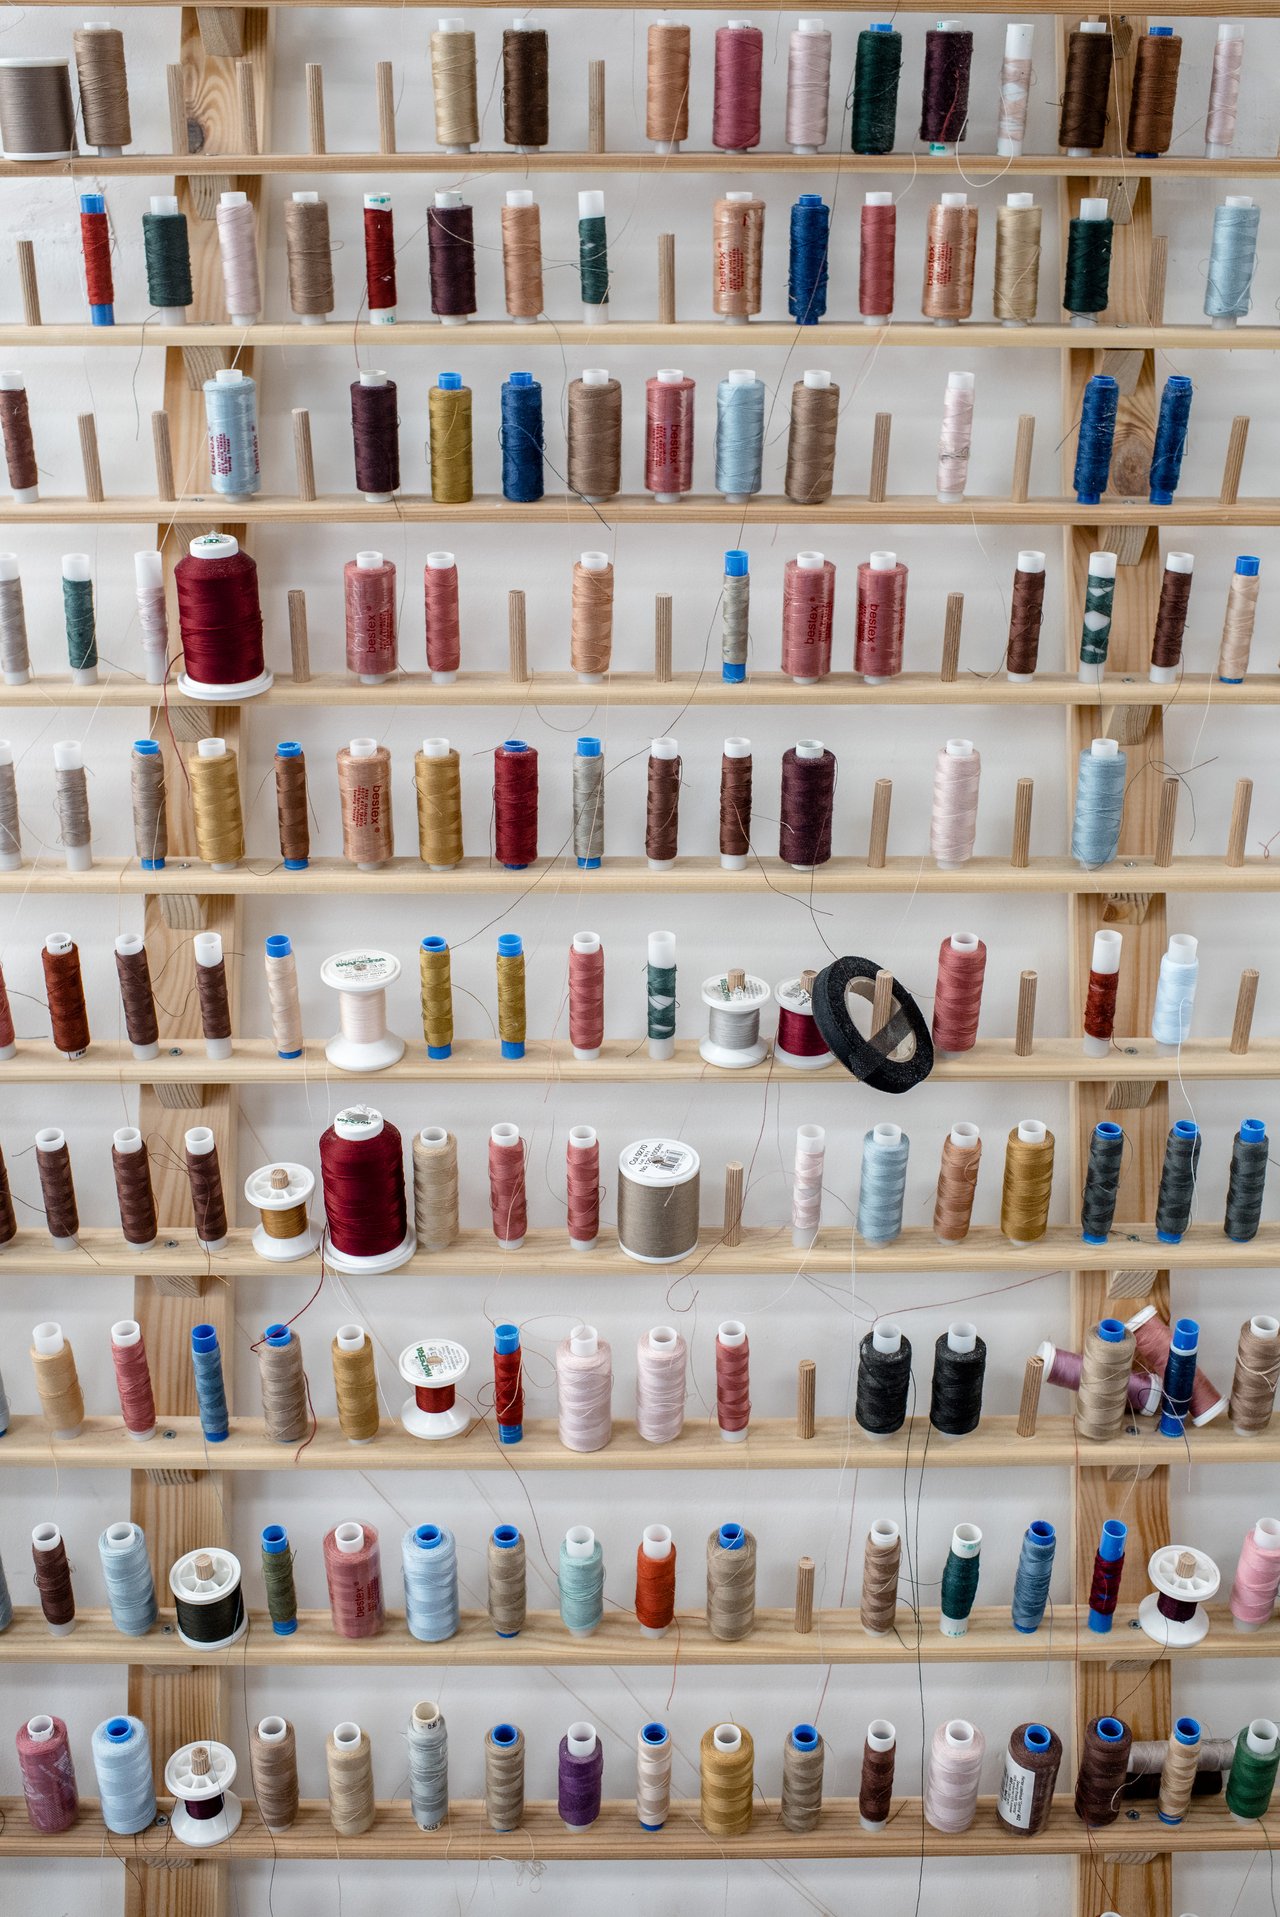
Use the right stabilizer: Using the right stabilizer is of crucial importance for all machine embroidery projects. It becomes even more critical when working with satin fabrics. Some experts recommend using a fusible poly mesh cut-away stabilizer for satin fabric; however, this can melt fabric if ironed at high temperatures. Thereby, we prefer to simply spray temporary adhesive on the back of the fabric; instead of using a fusible poly mesh cut-away stabilizer. Just make sure that the size of the stabilizer is slightly larger than the dimensions of the embroidery design.
Hooping: Next, you should always hoop stabilizers (backed by adhesive) with the shiny side up and keep it highly taut. Create a tear in the paper around the inside edge by using a pin and expose the sticky surface by peeling away the paper
Centering the location of the embroidery design: Next, place the satin fabric with hooped sticky tear-away stabilizer and center the location of the design on the hooped stabilizer.
Start Embroidering
Pro Tips for Machine Embroidery on Satin
Tear away any remaining sticky back stabilizer subtly. Since satin is a highly flexible fabric, make sure to not have any stiff area around the embroidery.
We would highly recommend using the sharp 75/11 needle for embroidery on satin fabric. Always make sure that the needle in your embroidery machine is exceptionally sharp whenever working on satin projects. That’s because a dull needle will get caught in the fabric frequently, resulting in skipped stitches, thread breaks, or leaving the fabric puckered.
If you are just starting with machine embroidery on satin, we recommend going with less dense designs. That’s because the greater the number of stitches in a given area, the greater the chances of pulling and puckering.
Ready for Machine Embroidery on Satin?
Even with all the challenges, machine embroidery looks fascinating and elegant on satin fabric. Embroidered satin apparel can be the best-personalized gift for dear ones or friends. Just make sure you follow these simple steps mentioned above, and we are sure you will be nailing machine embroidery designs on satin fabric.